Category Archives: Tutorials

Make Your Email Signature Work for You: Tips for Designing an Effective Email Signature

Your email signature is your calling card. It’s the first thing people see when they receive an email from you, and it’s a reflection of your personal brand. An effective email signature should be well-designed, professional, and informative. Here are some tips for designing an effective email signature.

  • Keep it simple.
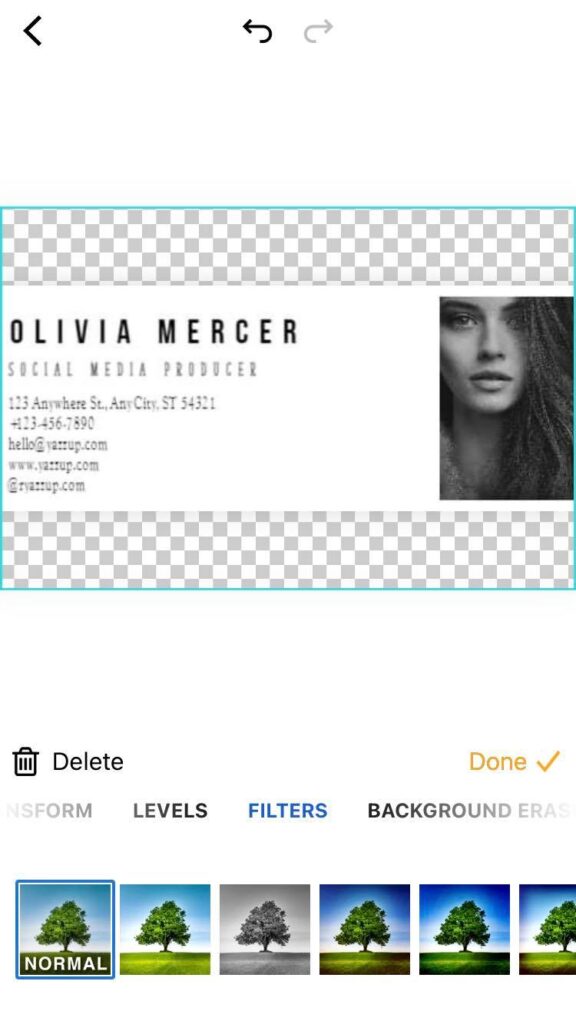
    Your email signature should be clean and uncluttered. Stick to the basics: your name, title, company, website, and contact information. Anything beyond that is unnecessary and can actually detract from your message. piZap photo editor has various design templates that can be perfect for your email signature. The piZap app is available on the piZap web, android and iOS devices.
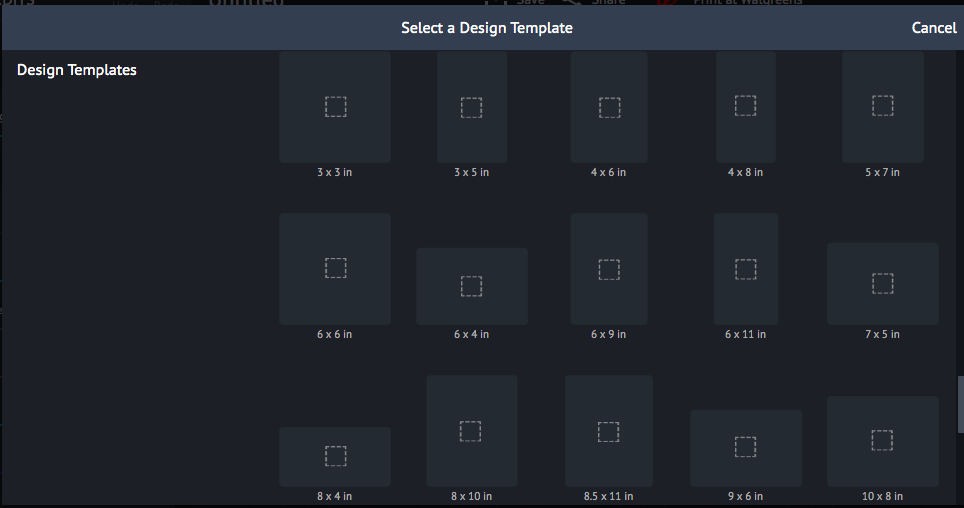
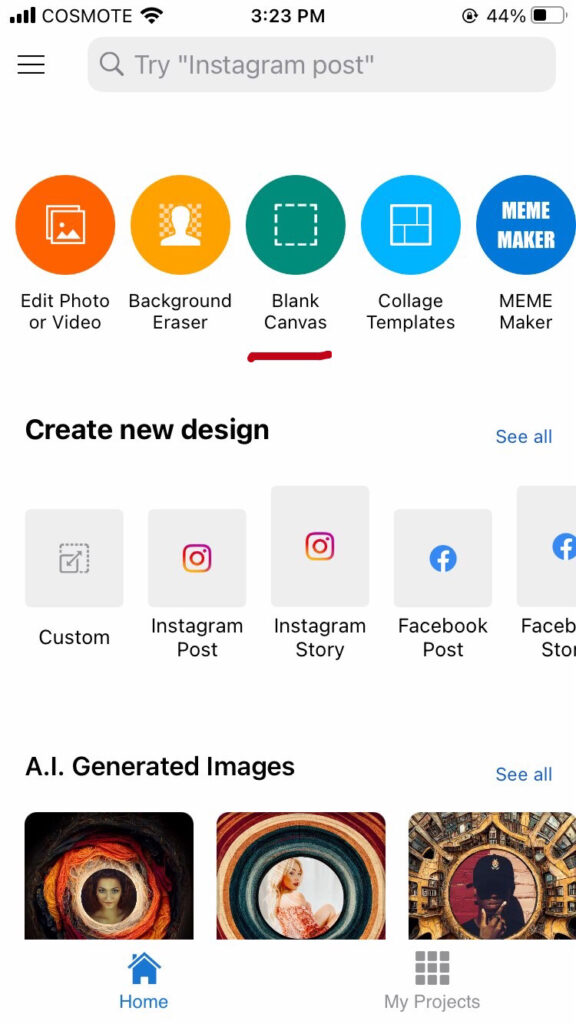
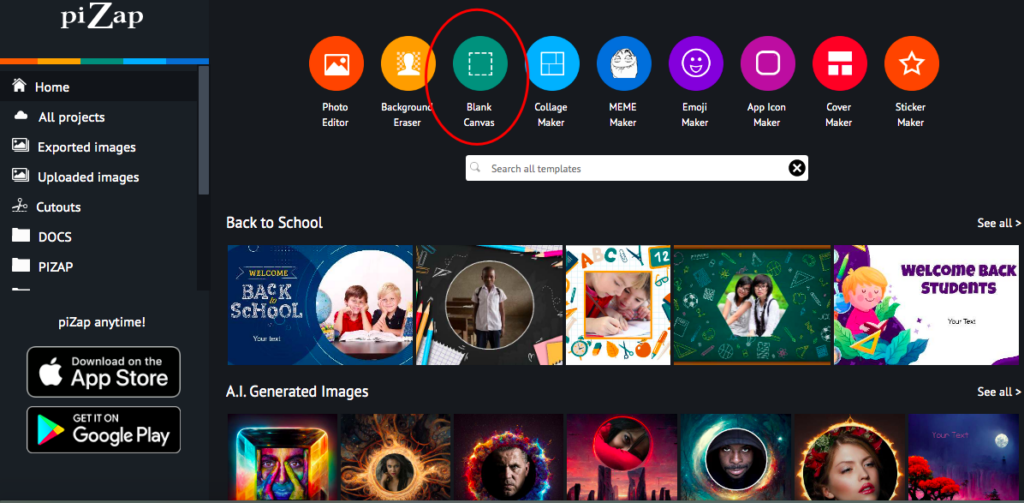
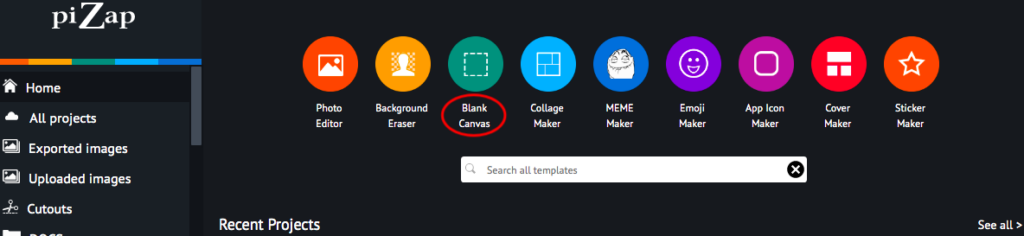
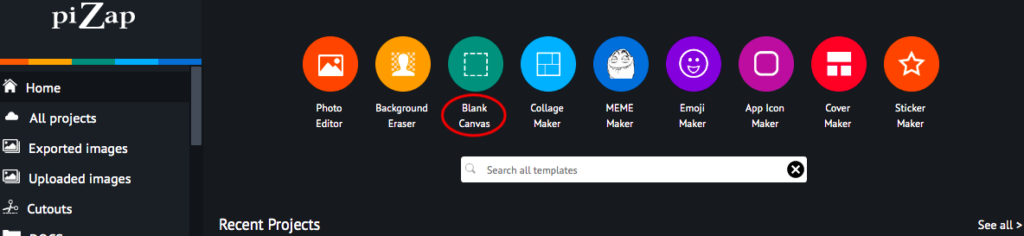
Blank canvas in the piZap web
piZap app in iOS device
  • Use proper grammar and punctuation.
    Your email signature is a reflection of your professionalism, so make sure to proofread it carefully. Typos and grammatical errors will make you look careless and unprofessional.

  • Use a professional headshot.
    A professional headshot conveys confidence and credibility. It helps people put a face to a name, which can make you seem more approachable and likable.

  • Stick to a consistent format.
    An email signature should be consistent in format from one person to the next within an organization. This creates a sense of unity and professionalism. If everyone’s email signature looks different, it will look chaotic and unorganized. You can match the consistency by using a standard font style that you use. PiZap offers tons of fonts that may fit in your email signature design.
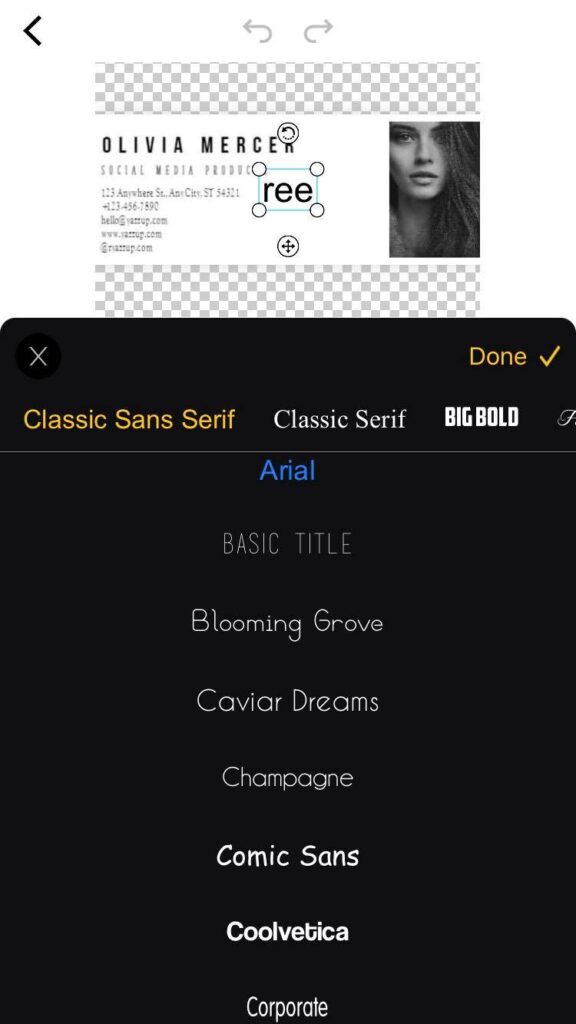
piZap app in iOS device
  • Use branding elements sparingly.
    If you’re representing a company or organization, you may want to include its logo in your email signature. However, don’t go overboard with branding elements—too many logos and colors can be overwhelming and difficult to read. A simple logo or color scheme is all you need to tie your signature to your company’s brand identity.
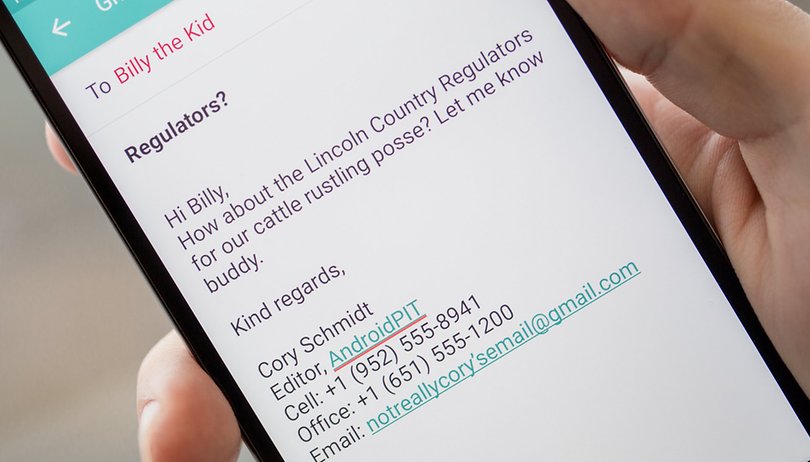
  • Make sure it works on mobile devices.
    More and more people are reading emails on their phones, so it’s important to make sure your signature looks good on mobile devices as well as desktop computers. Keep it simple so that it renders correctly on smaller screens—avoid using too many images or complex HTML code that might not display properly on a mobile device.
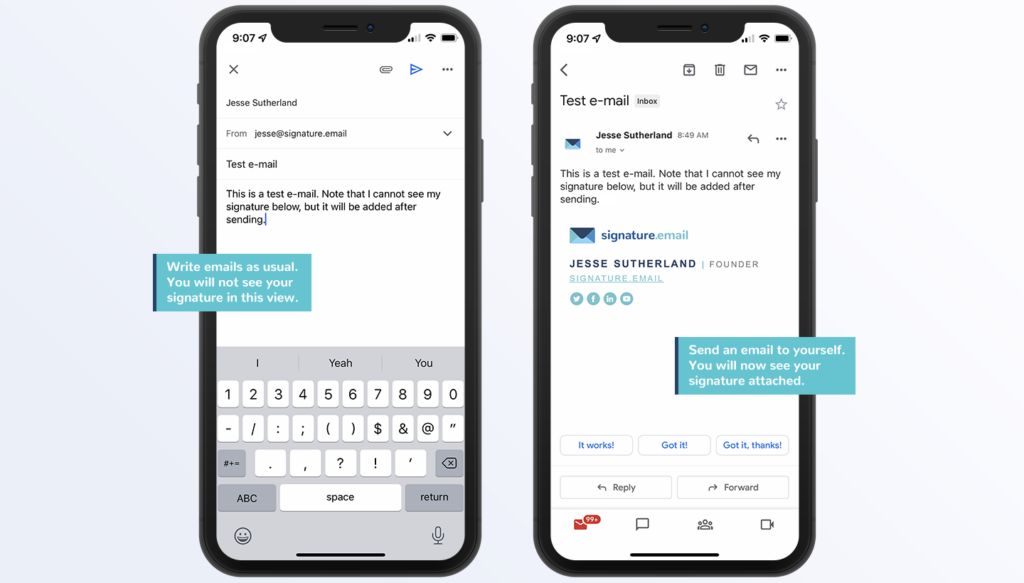
  • Test it before you use it .
    Before you start using your new email signature, test it out on all the different devices and platforms you use to make sure it looks the way you want it to . Send yourself test emails from your phone , tablet , laptop , and desktop computer to make sure everything looks correct .

  • Update it regularly .
    Be sure to update your email signature regularly with any changes in your contact information or job title . If you move companies , get promoted , or change your phone number , be sure to update your signature right away so that people always have the most accurate information .

  • Keep it consistent with the rest of your online presence .
    Your email signature should be consistent with the rest of your online presence , including your website , social media profiles , and other marketing materials . This helps create a cohesive personal brand that people will recognize across all channels .
  • Get creative !
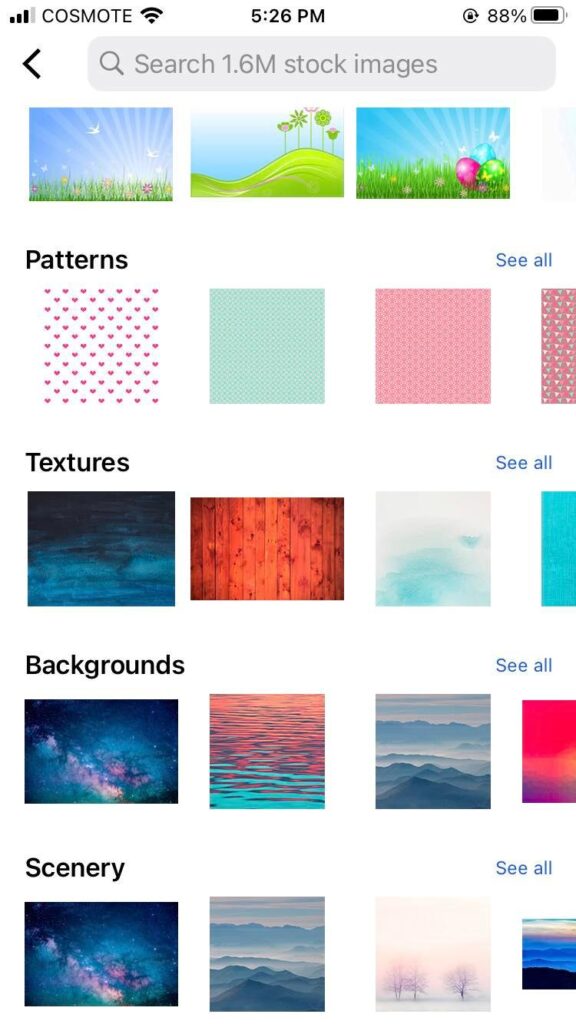
    Email signatures don’t have to be boring—get creative with yours ! Use HTML code to add images , links , or even animated GIFs . PiZap has tons of royalty free images and GIFs that you can use in your email signature design. Just remember to keep it professional — no one wants their inbox filled with flashy signatures that are difficult to read .

  • Seek feedback from others .
    Once you’ve designed your new email signature , ask for feedback from trusted colleagues or friends . They may have suggestions for how you can improve it or make it more effective . You can also run A / B tests by sending two different versions of your signature to different groups of people and seeing which one gets more positive responses .

  • Have fun with it !
    Designing an effective email signature doesn’t have to be tedious — have fun with it ! Think about what makes you unique and find ways to incorporate that into your design . After all , this is YOUR personal brand we’re talking about ! The sky’s the limit with piZap photo editor when it comes to creativity , so let yours shine through in your email signature design !

An effective email signature should be well-designed, professional, informative, consistent, and reflective of your personal brand identity. By following these tips, you can create an email signature that will make a great impression on everyone who receives an email from you!

How to Create a Watermark for Your Images with piZap

A watermark is a logo or other graphic that is placed on an image to protect it from being used without permission. Watermarks can be very difficult to remove, so they are often used by businesses and photographers to prevent their images from being stolen.

But what is a watermark, and how do you create one? A watermark is simply a logo or bit of text that you add to an image. When someone tries to copy or save the image, the watermark will be visible, making it clear that the image is copyrighted.

While there are many ways to create a watermark, piZap is one of the easiest tool that you can use. Simply upload your image, create your watermark, and pizap will do the rest. In just a few clicks, you can create a watermark that will help protect your images from being used without permission. With piZap, you can easily add text or logos to your images. You can also customize the size, color, and position of your watermark.

How to make a watermark using the piZap app the easy way.

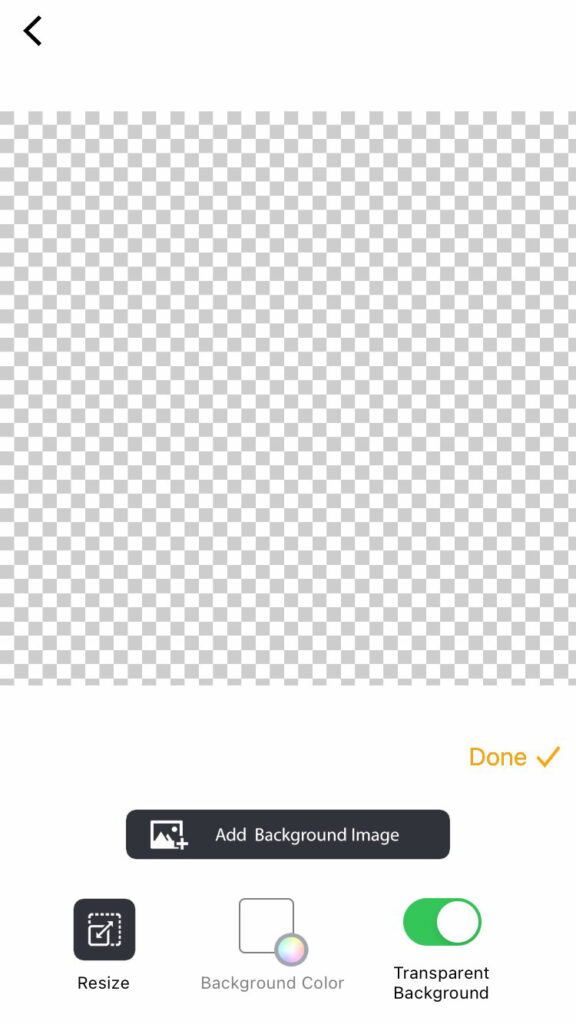
  1. Choose BLANK CANVAS .
piZap app in iOS

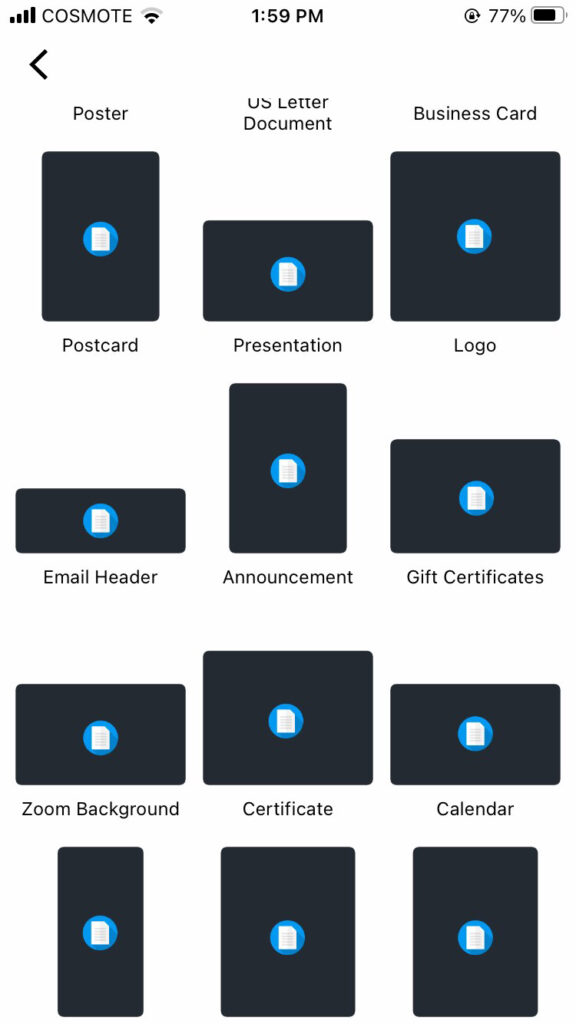
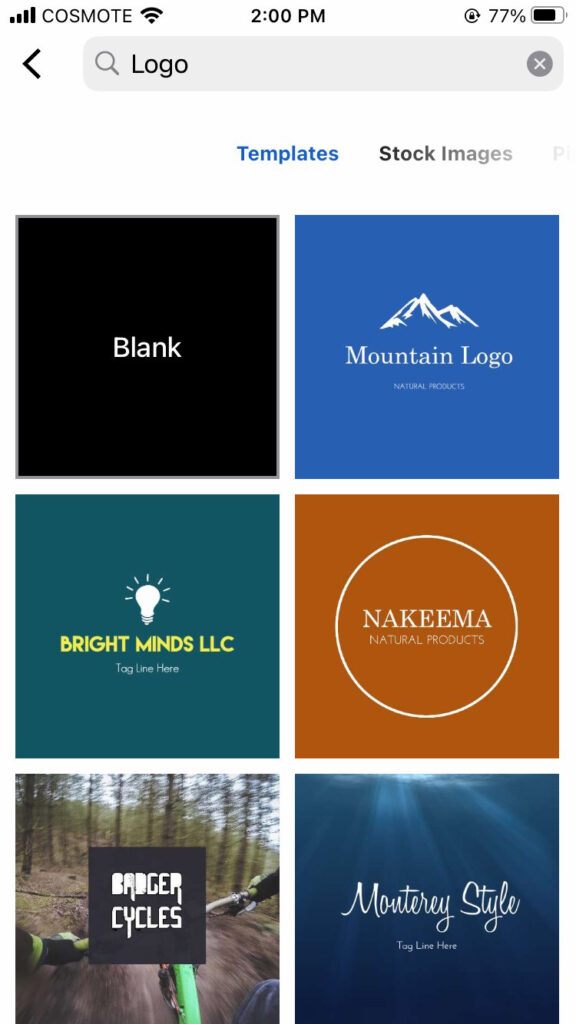
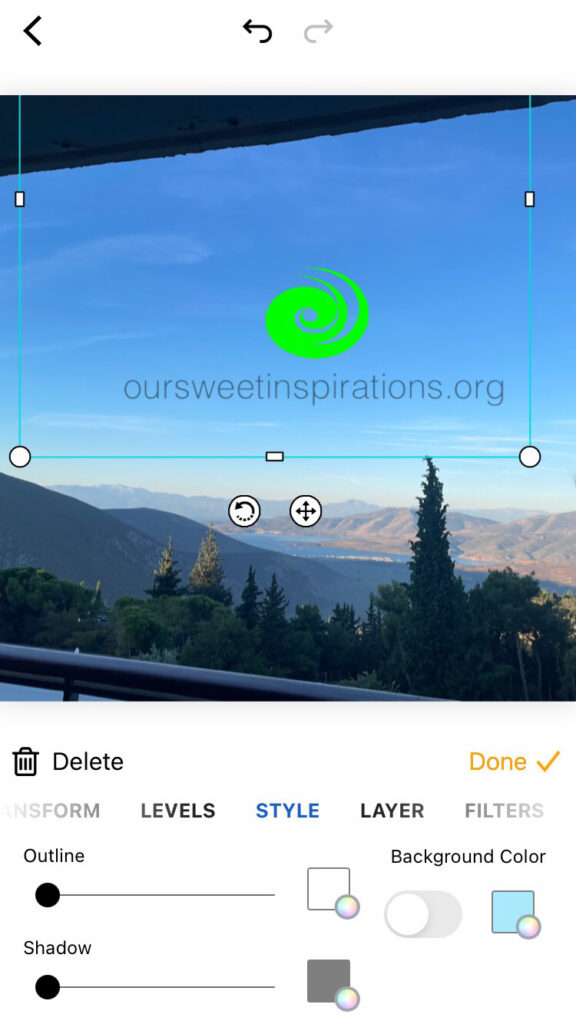
2. Select LOGO as your template. Open your logo, or make one using piZap‘s available logo templates.

piZap app in iOS
piZap app in iOS

3. Choose TRANSPARENT BACKGROUND for your image. This will help your image background to be transparent when added in the photo that you want to have a watermark.

piZap app in iOS

4. Once you have added the image or logo that you want to use as a watermark, you can simply SAVE it and use it with any of your photos that you would like to be protected from the public.

piZap app in iOS

So if you’re looking for a quick and easy way to protect your images, head over to piZap and start creating watermarks!
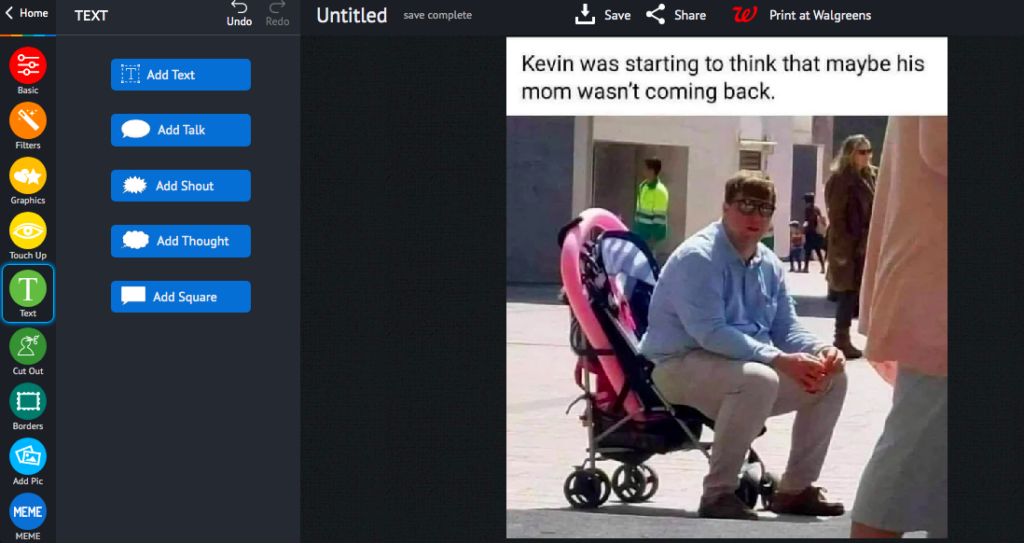
Quick Tips on Making a Hilarious Meme

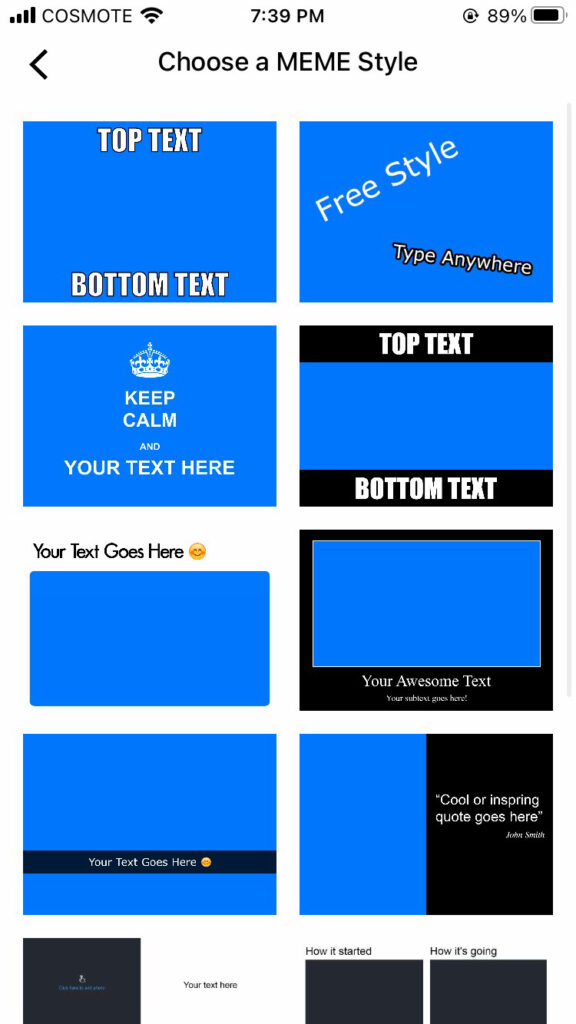
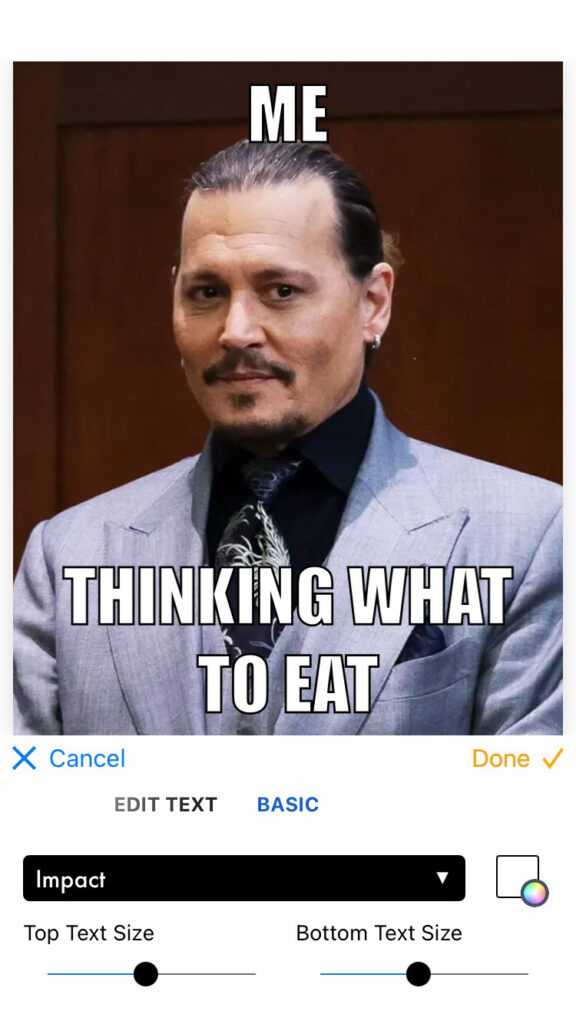
If you’re looking to get a good laugh, there’s no better way than by creating a hilarious meme. But where do you start? Luckily, pizap photo editor has everything you need to get the job done. With pizap, there are ready made meme templates and you can even easily access a library of high quality images that are perfect for memes.

Create meme-worthy photos that will have your friends laughing for days. Here are some tips for making the most of pizap:

  • Use high-contrast images for maximum impact. Black and white photos work well, or you can go for a bright, colorful image.
  • Make sure your text is easy to read. Use a large font size and clear, concise wording.
  • Have any pets? They make great meme material!
  • Use pop culture references to make memes that are relevant and timely.
  • Use pizap’s built-in templates and sharing tools to share your meme with the world! Pizap offers a wide range of tools to help you customize your memes. For example, you can add text, change the color scheme, and even add filters. So whatever your vision is for your meme, pizap has you covered.
www.pizap.com

With just a few clicks, you can post your creation to social media or send it to a friend via email or text. You can also try using the piZap app to create funny memes in iOS devices and android devices.

iOS device
iOS device

These are just some of the many things you can do to make hilarious memes! Be creative, have fun, and most importantly, don’t take yourself too seriously! 🙂

www.pizap.com

How to Make a YouTube Thumbnail in piZap

YouTube is a great way to share your videos with the world. But if you want people to actually watch your videos, you need to have a good thumbnail. A thumbnail is like a movie poster- it’s what shows up on YouTube when people are browsing for something to watch. And let’s face it, we all judge a book by its cover. That’s why it’s important to make a good impression with your thumbnail. Fortunately, creating a thumbnail in piZap is easy and fun!

piZap is a free online photo editor that’s perfect for creating YouTube thumbnails. You don’t need any design experience, and it only takes a few minutes to make a professional-looking thumbnail. Plus, piZap offers a wide range of tools and effects that you can use to make your thumbnail stand out. Here’s how to do it:

  1. Go to pizap.com (and create a free account in case you don’t have one yet).

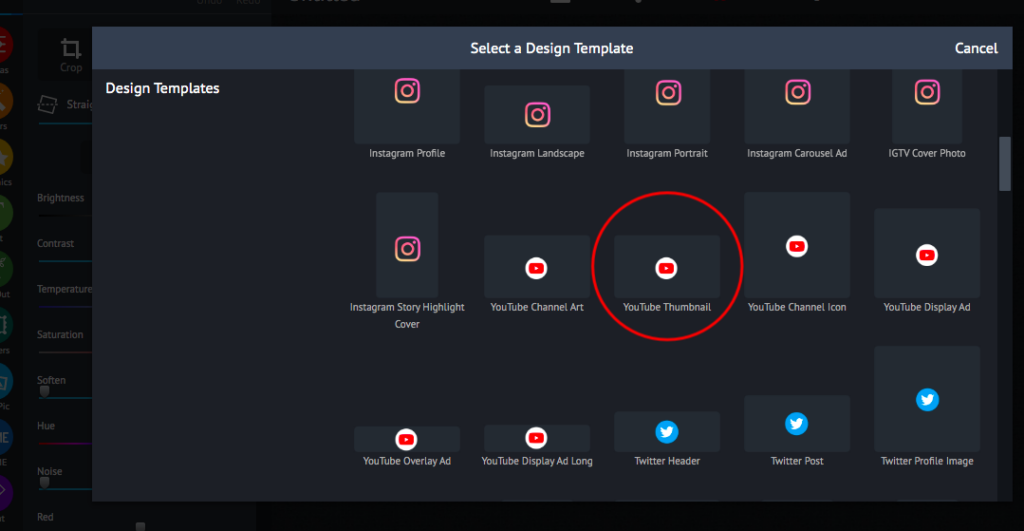
2. Go to BLANK CANVAS to get the YouTube thumbnail template size.

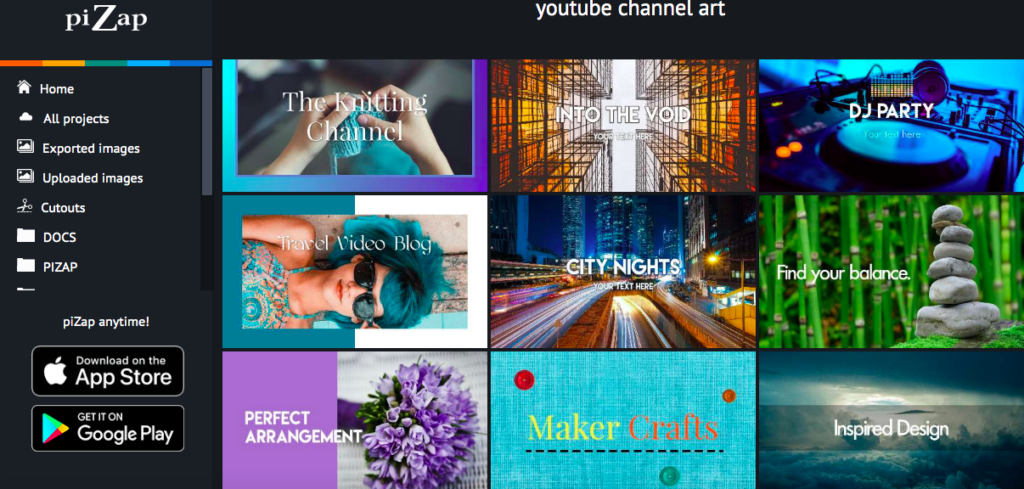
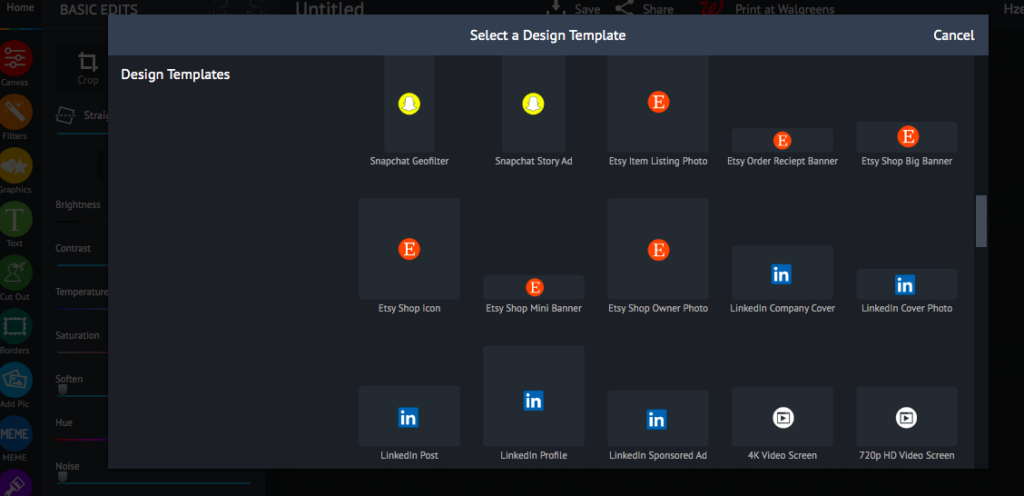
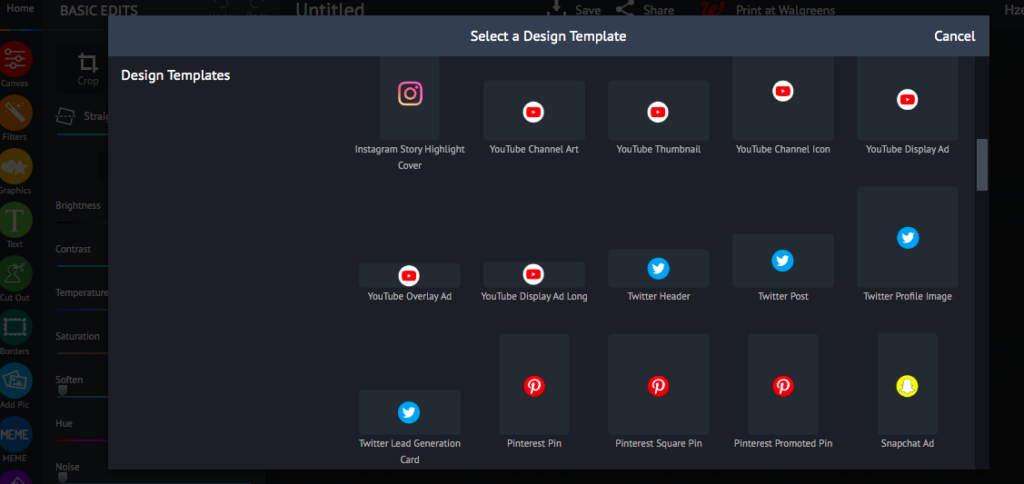
3. Aside from the YouTube thumbnail template size, you will find various YouTube templates such as YouTube Channel Art, Icon, Display Ad, Overlay Ad, and Display Ad Long templates. Click the YouTube Thumbnail template to start with your project.

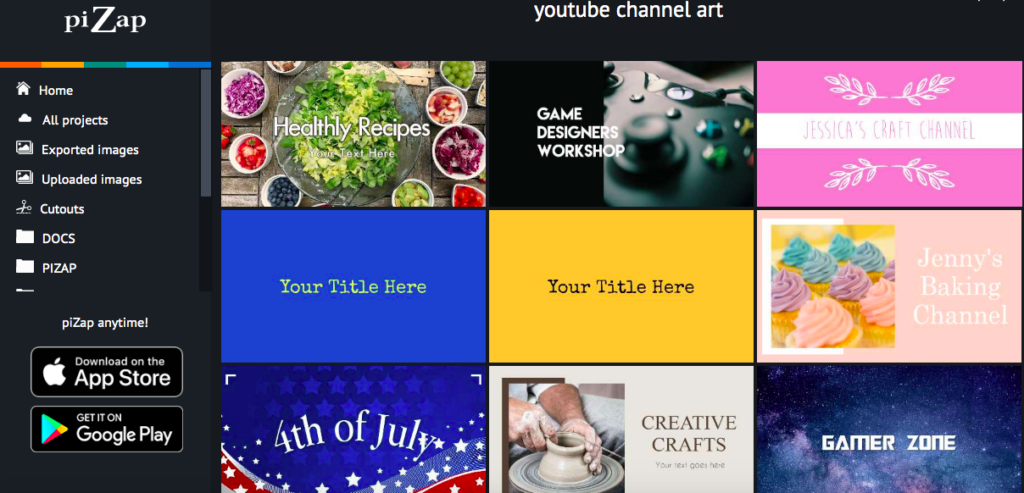
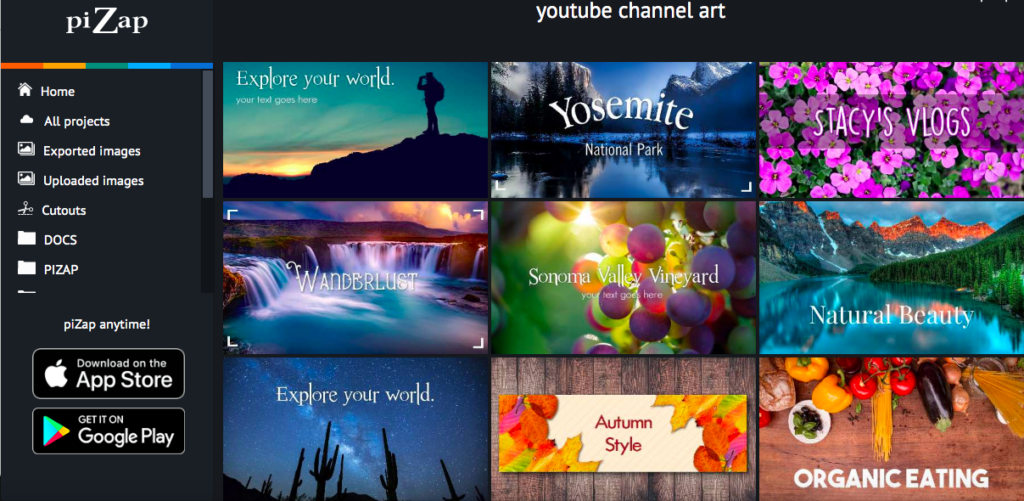
4. Upload the photo you want to use for your thumbnail. You can either upload a photo from your computer, or choose one from piZap’s ready made YouTube Channel Art templates.

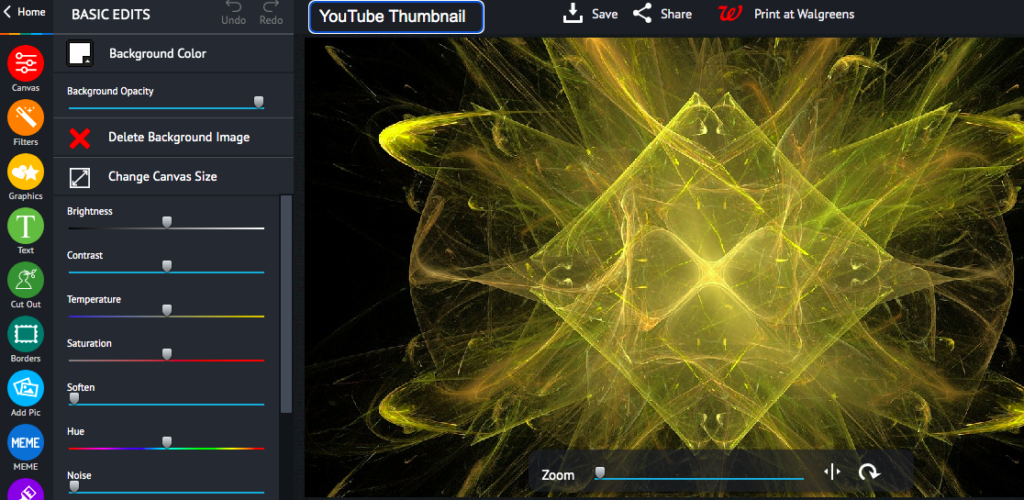
5. Use the tools in the left-hand sidebar to add text, shapes, and other elements to your thumbnail. You can also apply filters and effects to give your thumbnail a unique look.

6. When you’re happy with your thumbnail, click the “Save” button in the top-right corner of the screen. Then, choose whether you want to download it as a JPEG or PNG file. And that’s it! You’ve now created a professional-looking YouTube thumbnail using piZap.

You can also use PiZap’s tools to crop, resize, and edit your image until it’s perfect. Once you’re happy with your thumbnail, simply download it and upload it to YouTube. Now all that’s left to do is sit back and watch the views pour in!

If you want to watch some #piZaptutorials on how to create a YouTube Thumbnail using piZap, you can check out the YouTube video tutorials below.

That’s all there is to it! With piZap, creating a professional-looking YouTube thumbnail is a breeze. 🙂

Motivate your students with piZap’s homework stickers

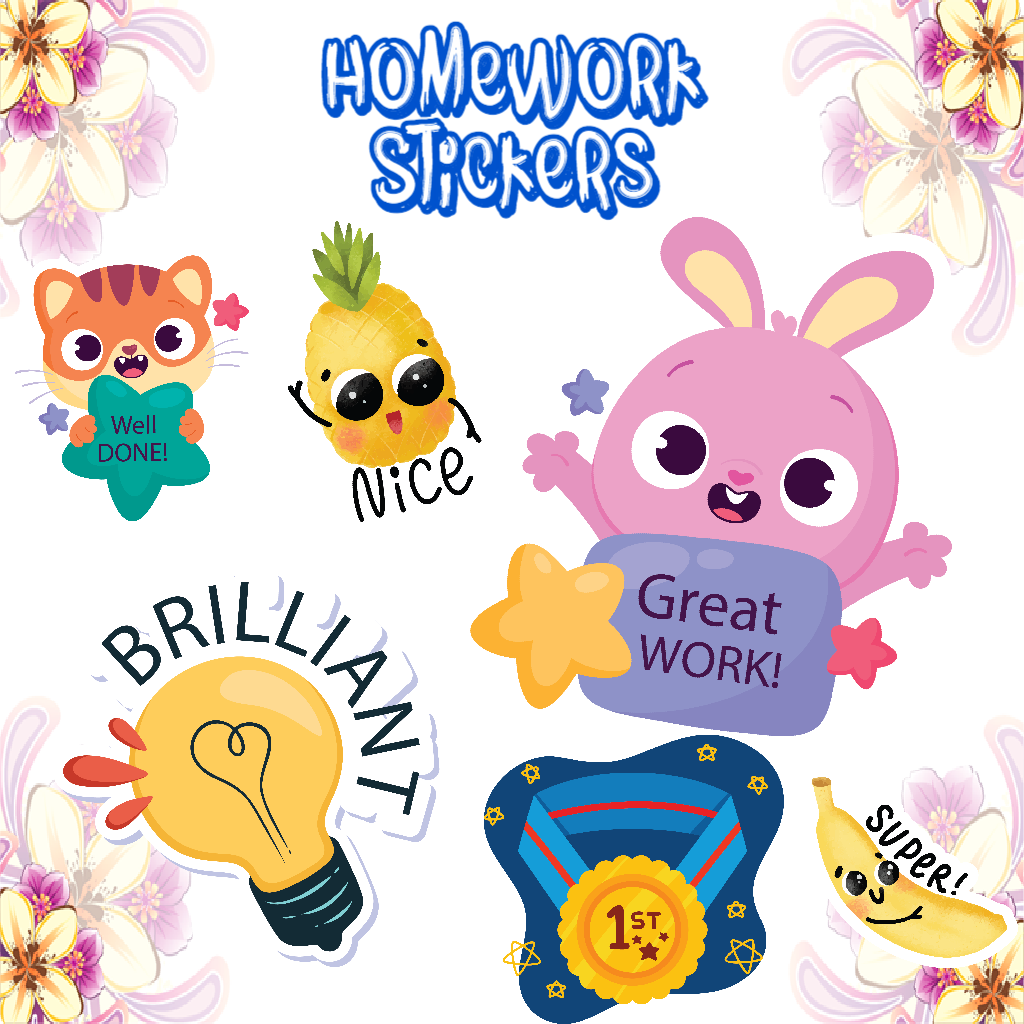
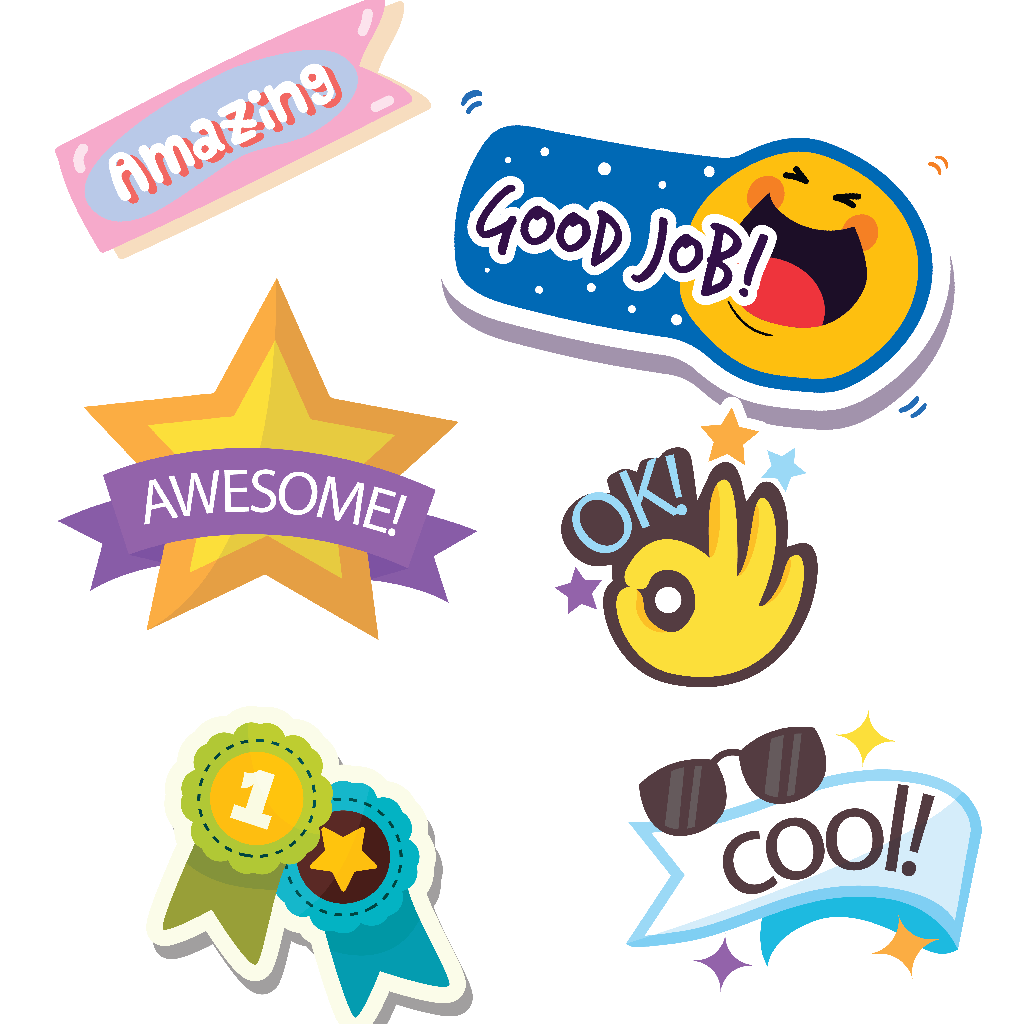
Do you want to motivate your students in a fun and unique way? Check out piZap’s homework stickers! These stickers are designed to encourage kids to have fun while completing their schoolwork. With designs like “I did my best” and “Nice try,” these stickers will help your students feel good about themselves, even when they don’t get everything right. And the best part is that they’re free!

PiZap’s homework stickers encourage students to have fun while they’re completing their work. These creative crafts are perfect for kids who need a little extra something in their life to get them through the work!

Giving homework stickers is the perfect way to motivate students who are having a hard time getting their work done! These colorful and fun homework stickers will make it easier for them, because now they’ll be able focus on what’s important – learning.

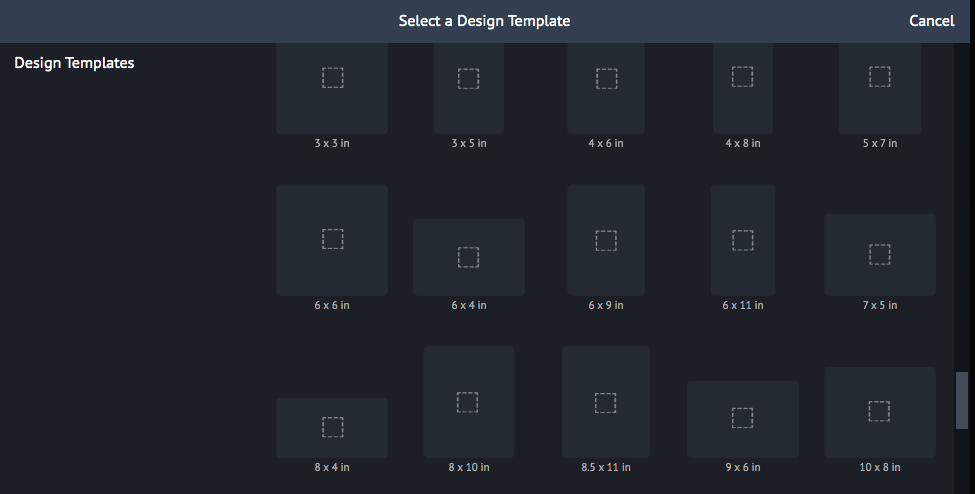
Also, you can easily customized the preferred size of each sticker and print it out! Simply choose a design template that you would like to use for your stickers.

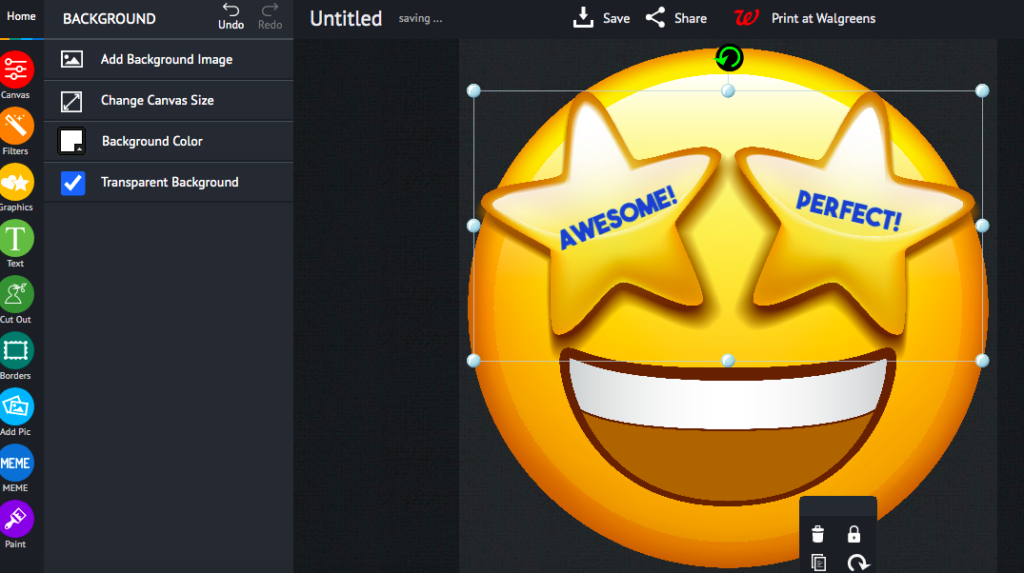
Then you can use the sticker maker tool in piZap where you can simply modify and edit the designs that you want for your stickers!

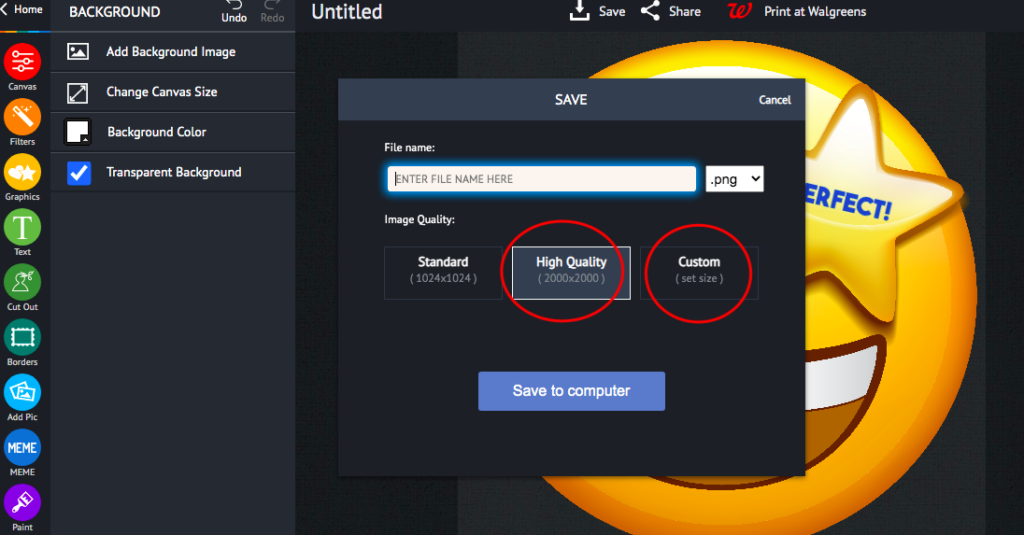
Once done, you can simply save it in your computer to print it! It’s that easy!

So if you’re looking for a fun and unique way to motivate your students, look no further than piZap’s homework stickers. These playful little stickers are sure to get your kids excited about completing their homework on time.

With so many cute designs to choose from, there’s something for everyone. You can also check the mobile piZap app in iOS devices to start working with your homework stickers!

So what are you waiting for? Start using these stickers today and see how much more engaged your students become in their schoolwork!

The Art of Cropping: How to Make Sure Your Images are Perfect for Social Media

Cropping is a crucial part in taking great photos, but it’s also one of those things that you might not know how to do. You can ruin an otherwise perfect photo by cropping too much or leaving enough space around your image for people on social media platforms like Instagram and Facebook! In order to make sure all aspects are covered when posting pictures online with the PiZap Photo Editor, you can check the various ready made templates in piZap for your social media postings!

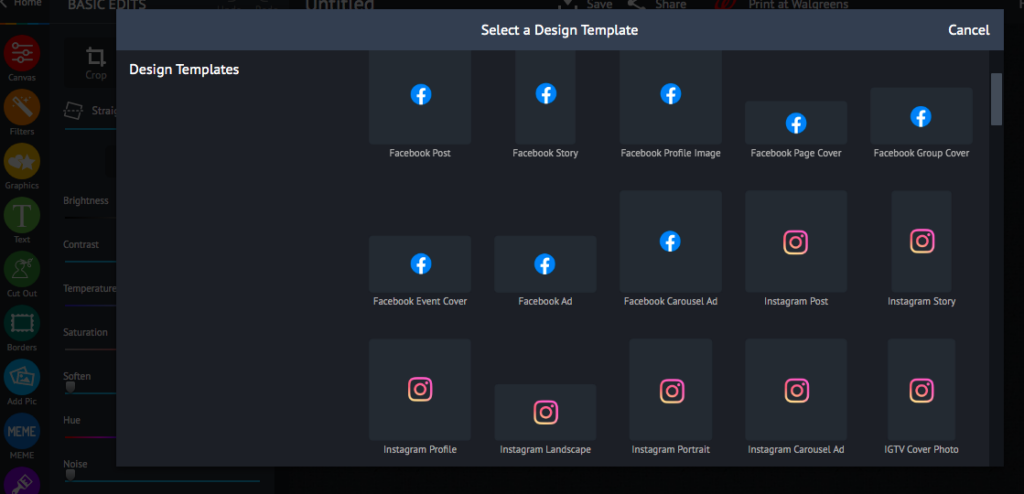
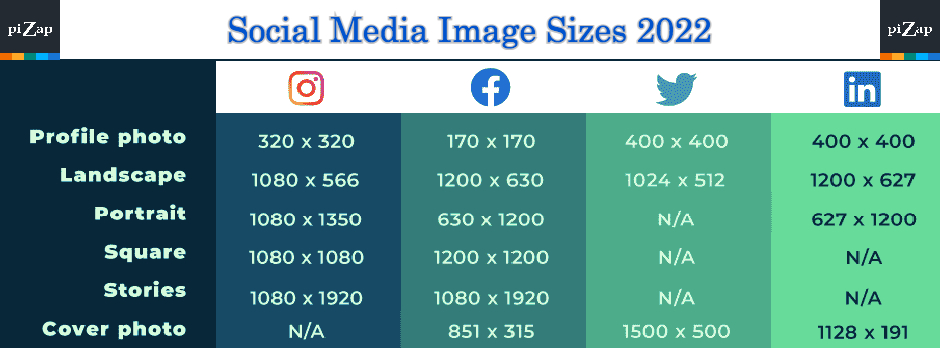
You can use piZap’s pre-sized / designer-made social media templates for LinkedIn, Facebook, Twitter, Pinterest, SnapChat, Instagram, and YouTube. Simply go to BLANK CANVAS on the piZap menu to find the social media templates that you will need. Remember that you can do this as well via the piZap app (available in the Apple and Google Store).

Or simply DIY with piZap’s blank canvas where you can customized the actual size that is required for your social media post. Below is a guide that we put together on what exactly goes into making the perfect Square File for Instagram, Facebook, Twitter, and LinkedIn – which will cover everything from aspect ratios up through resolution options… So check these tips out before next time….

In the art of cropping, it is important to make sure your images are perfect for social media. A photo may appear too small or distorted when posted on Twitter and Facebook with incorrect proportions! Luckily there’s a simple solution:

  1. Go to piZap.
  2. Click BLANK CANVAS on the top menu.
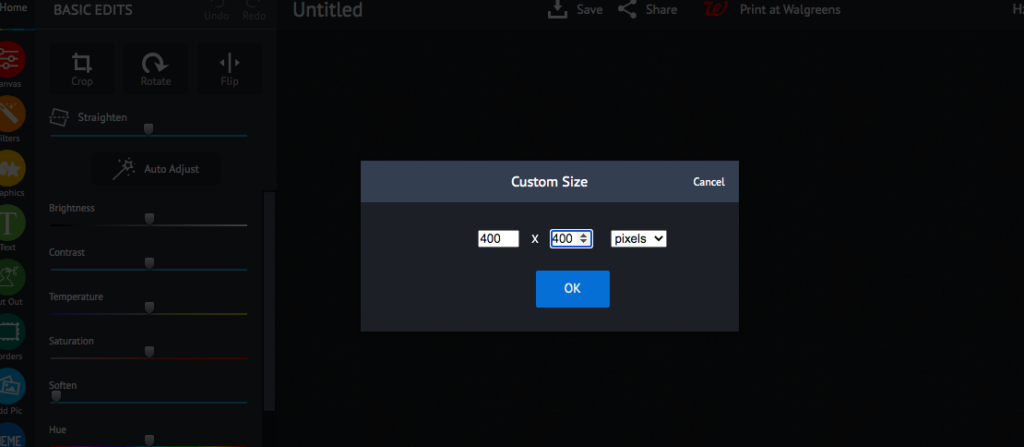
  3. Click the CUSTOM SIZE to select your desired social media size.
  4. Click OK.
  5. Save your changes. And you are all set!

Croping for your social media posts can be tricky, but it’s not impossible. Just make sure you check first the required size for your image before posting so your photos will look at their absolute best on social media!