

A watermark is a logo or other graphic that is placed on an image to protect it from being used without permission. Watermarks can be very difficult to remove, so they are often used by businesses and photographers to prevent their images from being stolen.

But what is a watermark, and how do you create one? A watermark is simply a logo or bit of text that you add to an image. When someone tries to copy or save the image, the watermark will be visible, making it clear that the image is copyrighted.
While there are many ways to create a watermark, piZap is one of the easiest tool that you can use. Simply upload your image, create your watermark, and pizap will do the rest. In just a few clicks, you can create a watermark that will help protect your images from being used without permission. With piZap, you can easily add text or logos to your images. You can also customize the size, color, and position of your watermark.
How to make a watermark using the piZap app the easy way.
- Choose BLANK CANVAS .

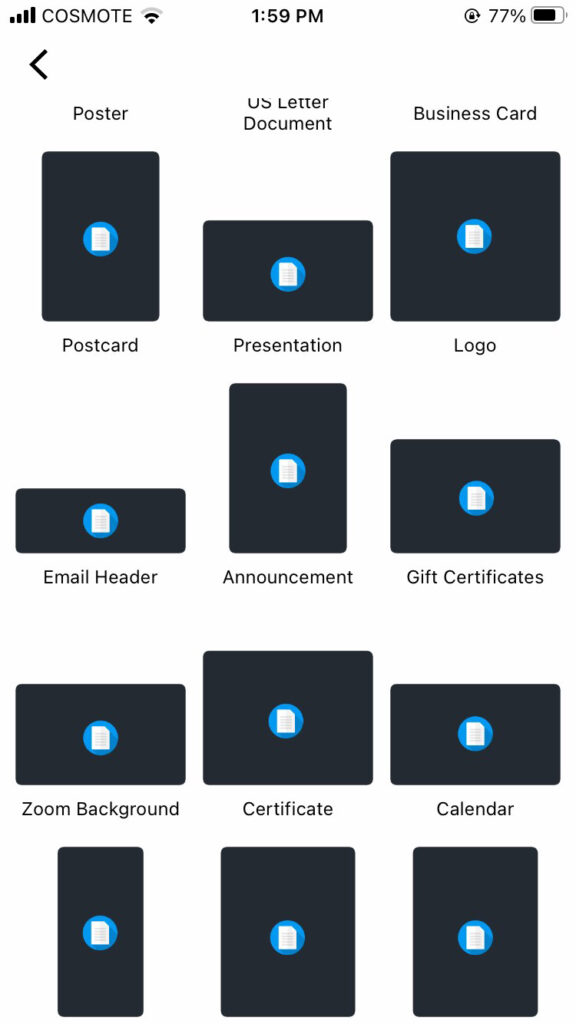
2. Select LOGO as your template. Open your logo, or make one using piZap‘s available logo templates.

3. Choose TRANSPARENT BACKGROUND for your image. This will help your image background to be transparent when added in the photo that you want to have a watermark.

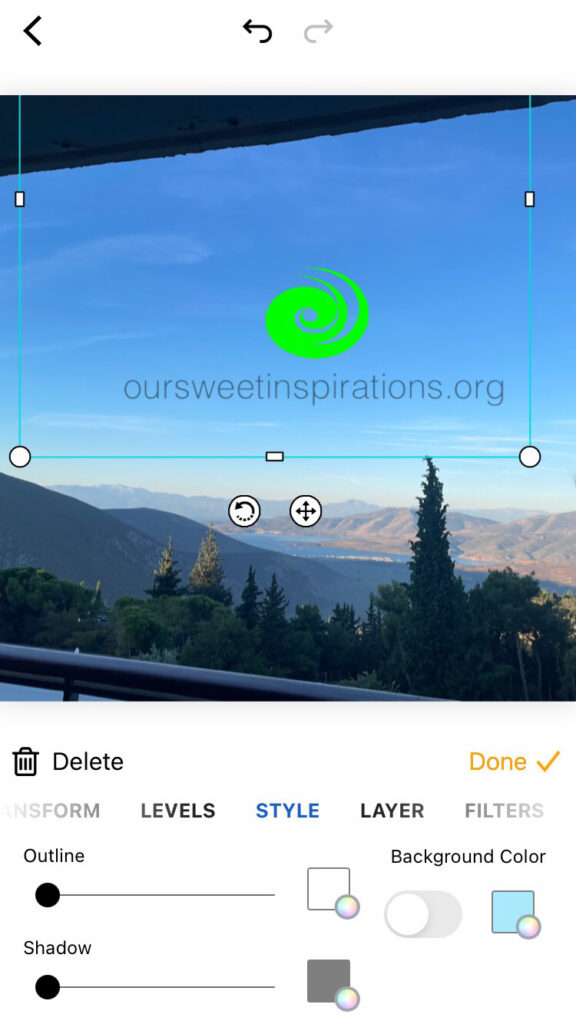
4. Once you have added the image or logo that you want to use as a watermark, you can simply SAVE it and use it with any of your photos that you would like to be protected from the public.
So if you’re looking for a quick and easy way to protect your images, head over to piZap and start creating watermarks!