Tag Archives: photoeditor

Life Through a Lens: The Mental Health Benefits of Photography

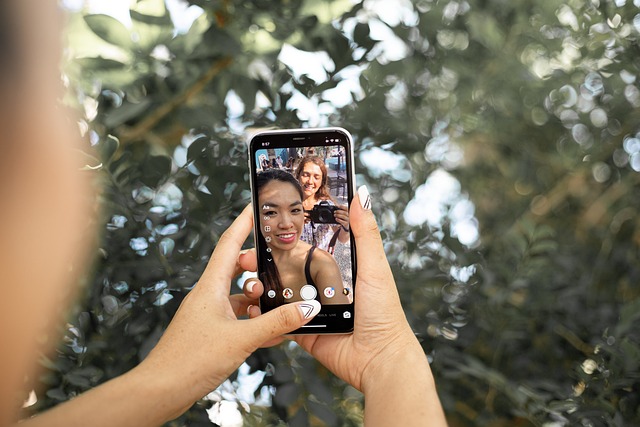
There are many hobbies that people enjoy in order to take their minds off the stresses of everyday life. Some people go for a run, some do yoga, and some just sit back and watch a movie. But what if you could get all those benefits—and more—from a single hobby? That’s where photography comes in. From being able to capture moments, to being able to express yourself creatively, photography can be an incredibly rewarding and beneficial hobby.

Creativity & Self-Expression


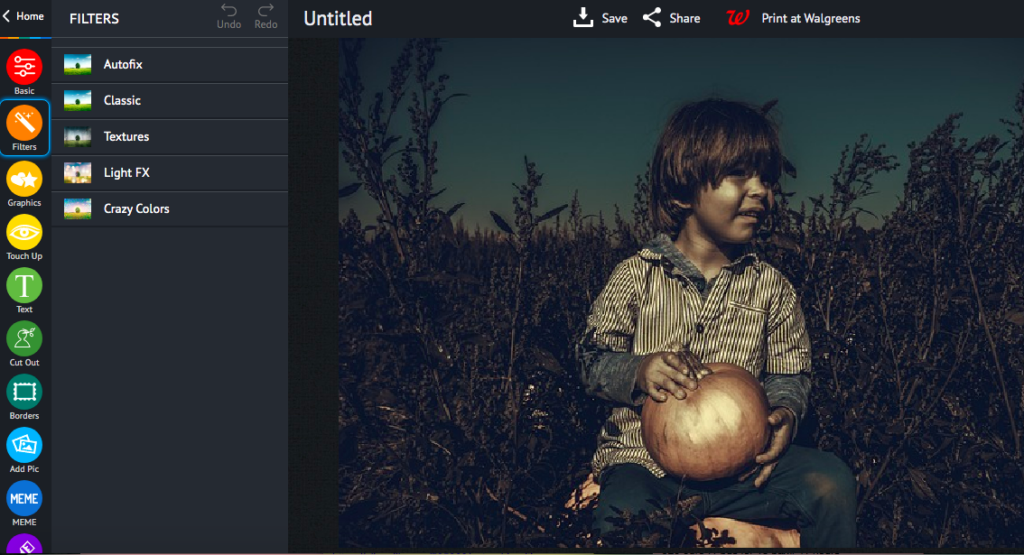
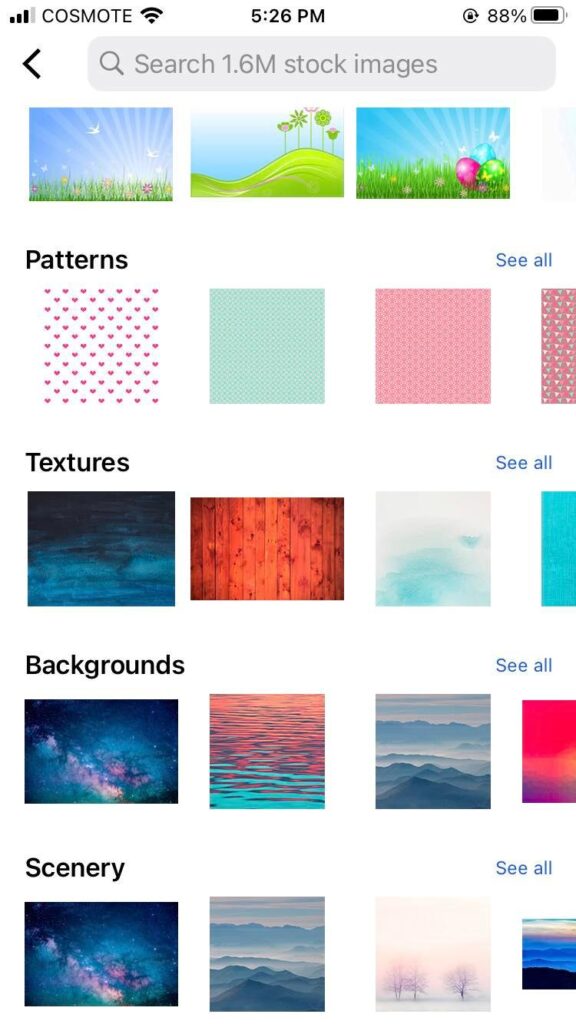
Photography allows us to explore our creativity and express it in unique ways. For example, you can use different angles and perspectives when taking photos; you can experiment with lighting; or you might even choose to edit your photos using special effects or filters like the one in piZap. PiZap provides easy to use tools for photographers to enhance their photos.

piZap app – iOS device (special thanks to Sam Crisco Photography)

No matter how you decide to approach it, the possibilities are endless! And that is one of the best things about photography – it gives us the freedom to be creative and express ourselves without any limits.

Focus & Attention

When we’re taking pictures, we have to stay focused on what we’re doing. We need to pay attention to things like composition, lighting, perspective, etc., which helps us stay present in the moment. This kind of mindfulness is great for improving our concentration and focus – both of which are essential skills for getting through everyday life!

Plus, focusing on something else (like photography) is a great way to take our minds off other stressors that we may be dealing with at the time.

Therapeutic Value

Photography has been found to have therapeutic value for those who suffer from anxiety or depression. It can provide an outlet for self-expression that can help reduce stress levels as well as give people something positive to focus on instead of their worries and anxieties.
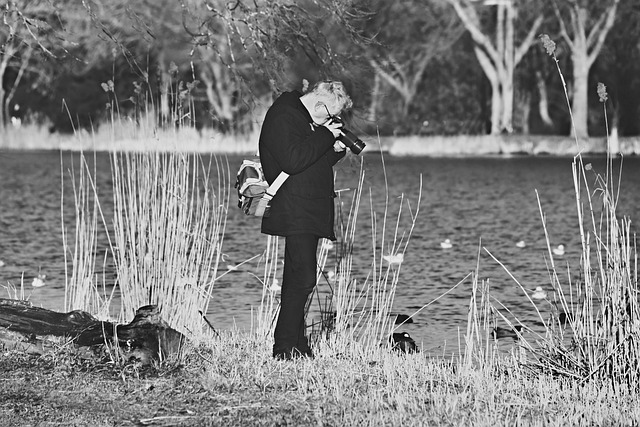
Taking pictures also requires patience and practice – two things that can help build resilience over time if done consistently enough!

Finally, looking at photos can also remind us of happy memories or experiences from the past – which can be incredibly helpful when dealing with difficult times in the present day.
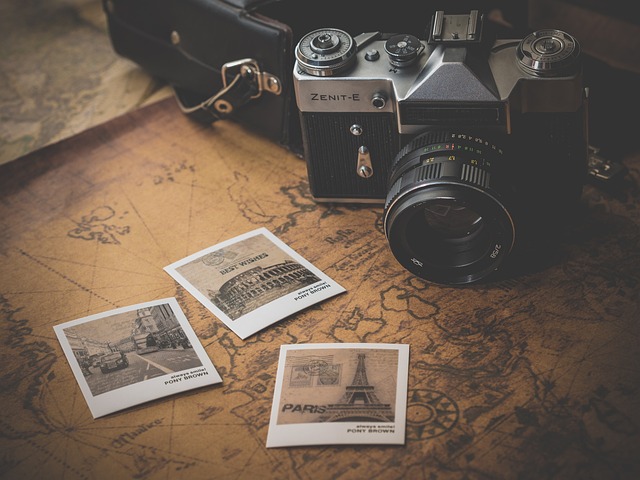
Overall, there are many mental health benefits associated with photography as a hobby – from creative expression and improved focus/attention span, to therapeutic value for those who suffer from mental health issues such as anxiety or depression.

So why not grab your camera (or phone!) today and start exploring the world through your lens? Who knows – maybe this new hobby will be just what you need! You might be surprised at how therapeutic it really is!
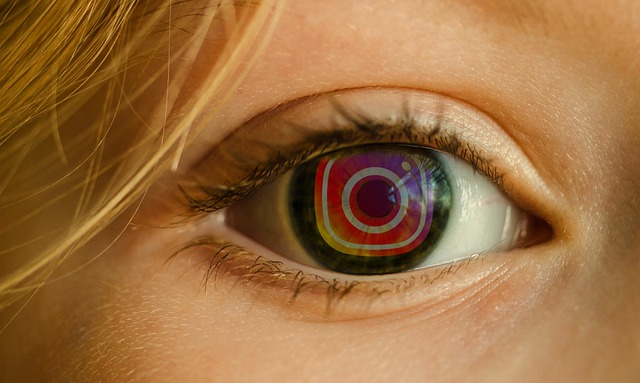
How to make Instagram Story Covers that will make your friends say “wow!”

Let’s face it, we’ve all been there. You’re scrolling through Instagram, minding your own business, when you come across an IG Story cover that just makes you stop and stare. The colors are perfectly coordinated, the font is on point, and the overall aesthetic is just so damn pleasing. But then you remember that you don’t have a professional graphic designer on speed dial (or even in your contact list, for that matter).

So how the heck are you supposed to make your IG Story Cover look just as good?

Never fear, with piZap’s free online design maker, you can create beautiful Instagram Story covers that will make your followers do a double-take. And the best part? It’s super easy to use and you don’t need any prior design experience. So without further ado, let’s dive in!


Creating Your First Instagram Story Cover with piZap

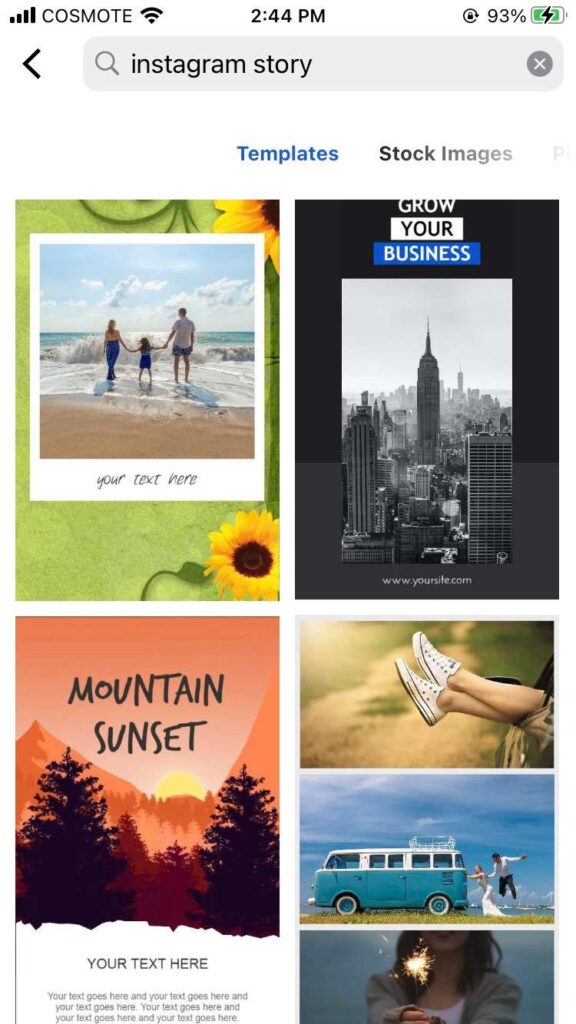
1. Go to www.pizap.com or to you piZap app in your iPhone device and go over on the main menu. Under CREATE A NEW DESIGN, you can scroll down to search for INSTAGRAM/ FACEBOOK STORY cover templates that you may want to use.

piZap app on iOS device

2. Select the best template that you like from the list of templates.

piZap app on iOS device

3. To start designing your cover, click on the image that you want to replace.

piZap app on iOS device

You can find tons of royalty free images in piZap (via Pixabay and Unsplash). You can also upload your own image by clicking on the “Replace” tab (on the left) and selecting an image from your mobile device/computer.

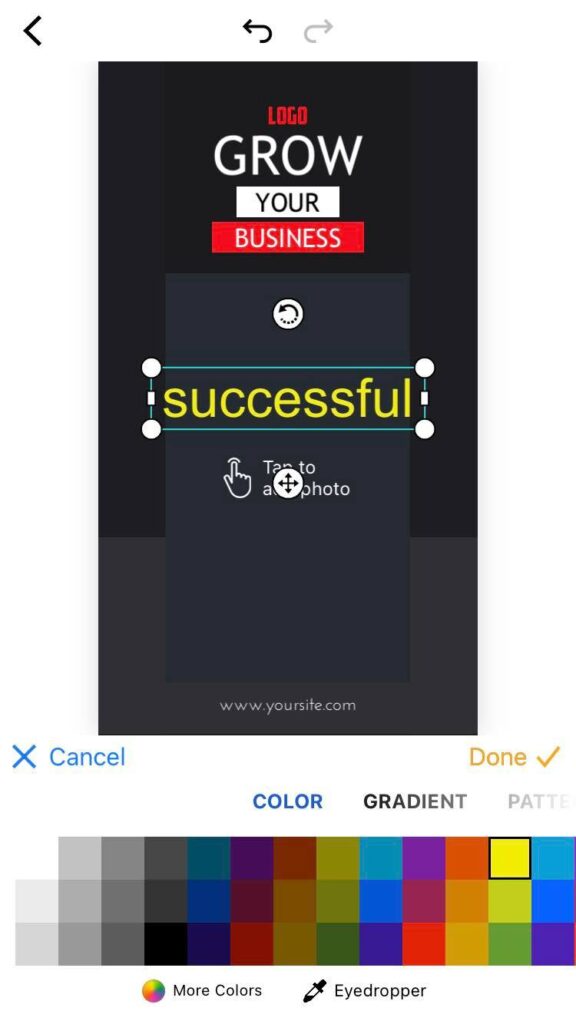
4. Once you’ve selected your background, it’s time to start adding text!

The piZap template has ready made texts that you can replace. Or you may click on the “Text” tab at the bottom if you want to add your own text or font styles. A text box will appear where you can type out your desired text. To change the font, color, or alignment of your text, simply use the options that appear in the pop-up menu after clicking on the text box.

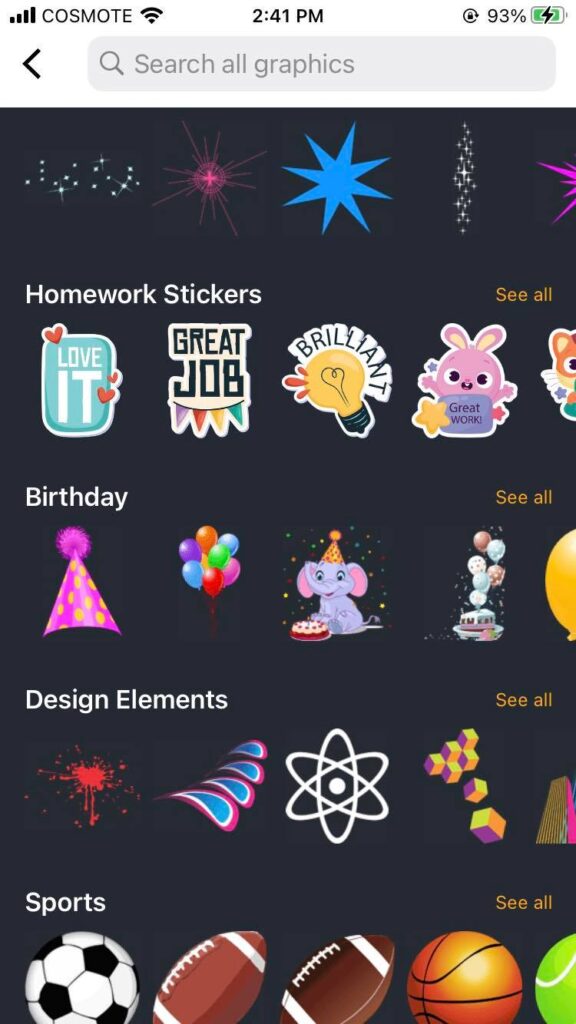
5. To add additional design elements like shapes or stickers, click on the “Graphics” tab in the lower portion of the canvas in piZap.

piZap app

Select a graphic or sticker from the options that appear on the screen. Then click anywhere on the canvas to add it to your design.

6. Once you’re happy with your design, click on the “Download” button in the upper right-hand corner of the canvas to save it as an image file to your device (JPG or PNG).

7. That’s it! You’re now ready to upload your brand new Instagram Story Cover to your stories!

8.If you want to create additional covers using piZap, simply repeat steps 1-7 for each one.


There you have it—a step-by-step guide to creating stunning Instagram Story Covers using piZap’s free online design maker! With just a few clicks of a mouse, you can have beautiful IG Story Covers that are sure to impress all of your followers. So what are you waiting for? Give it a try today! Download the piZap app!

A Gratitude Photo a Day Keeps the Scowls Away

As the days get shorter and the weather gets colder, it’s easy to let the winter blues set in. But there’s one simple way to combat all that negative energy: gratitude photos! Every day, take a photo of something or someone you’re grateful for.

It could be your family, dear friends, happy dog, your cozy bed, your yummy breakfast… anything that brings a smile to your face. Then, post it online with the hashtag #grateful. Not only will you make yourself feel good, but you’ll also spread some positivity to your friends and followers.

Ready to get started? Here are a few tips:

1.Be creative!

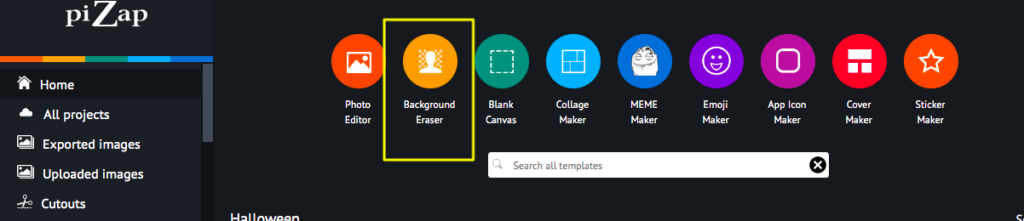
Think outside the box when it comes to gratitude photos. In addition to traditional pictures, you could also try editing your photos with piZap photo editor. You can think of lots of ideas with your photos when using piZap’s background eraser, or even just a simple list of things you’re grateful for. Get creative and have fun with it! Check out how easy you can create gratitude photos with piZap!

2. Be specific.

When you’re posting about what you’re grateful for, make sure to be specific. For example, don’t just say “I’m grateful for my family.” Say, “I’m grateful for my mom’s homemade lasagna” or “I’m grateful for my sister’s sense of humor.” The more specific you are, the more powerful your message will be. Choose from piZap’s tons of fonts and images to bring life in your images!

3. Be consistent.

The whole point of gratitude photos is to help you focus on the positive things in your life, so make sure you’re posting them every day! Set a reminder on your phone or put a sticky note on your mirror to help you remember. And if you miss a day here or there, don’t worry—just pick back up where you left off.


The next time something good happens in your life—big or small—don’t forget to take a Gratitude Photo! Not only will it help you express yourself and reflect on all of the good in your life, but it might just motivate you to be more grateful overall. And we could all use a little more positivity and good vibes in our lives these days. 🙂

10 Tips for Taking Better Thanksgiving Photos of Your Kids

As the holidays approach, now is the perfect time to start thinking about how to capture all those special moments with your kids. Thanksgiving is a great opportunity to get some cute and funny photos of your little ones. Here are five tips to help you take better Thanksgiving photos of your kids this year.

1. Get them in the holiday spirit.


Dress your kids up in their cutest Thanksgiving outfits or have them make some fun crafts to get them into the holiday spirit. The more festive they are, the better the photos will be.

2. Take advantage of natural light.


If possible, try to take the photos near a window where there is plenty of natural light. This will help avoid any harsh shadows on your subjects.

3. Get down on their level.


For the best photos, get down on your child’s level so you’re at eye-level with them. This will help you capture their expressions more easily.

4. Use props.


Props can be a great way to add interest to your photos and help tell a story. Give your kids some leaves or pumpkins to play with or have them hold up signs with what they’re thankful for this year. Be creative!

5. Focus on candid shots.

Candid shots tend to be more dynamic and interesting than posed shots, so try to capture your kids in the midst of playing or laughing rather than asking them to sit still and smile for the camera.

6. Edit strategically.

www.pizap.com

With today’s digital cameras and editing software, it’s easy to go overboard with filters and effects. But sometimes less is more—a few strategic edits can go a long way in making your photos look better without making them look fake. This is where piZap photo editor can provide simple editing solutions and basic filters that can help you come up with great image output. The piZap app is available in the web, iOS and android devices.

7. Print them out!

www.pizap.com

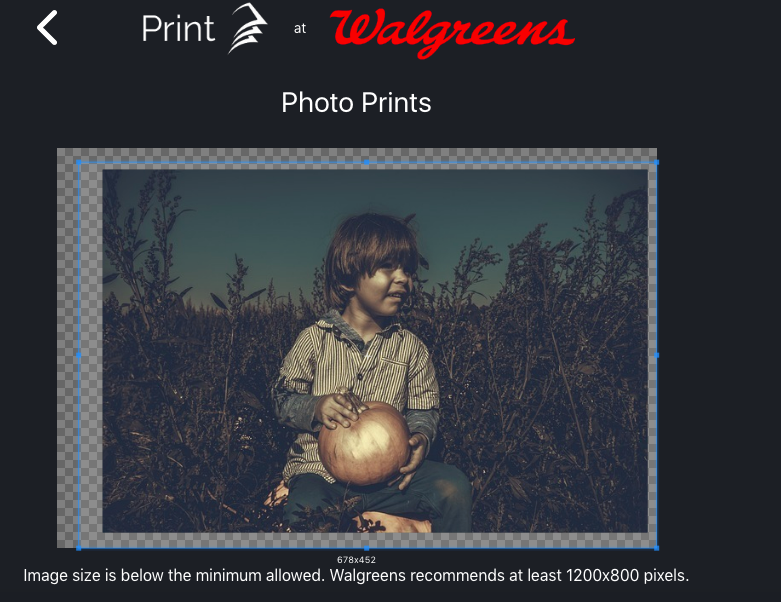
In this age of digital media, it’s easy to forget that photos are meant to be enjoyed offline as well as online—so make sure you print out your favorites and put them in an album or frame them for display in your home. piZap offers options to print them directy to your printer or via Walgreens. Check out this special feature in piZap!

8. Share them with loved ones!

edited in piZap

One of the best things about taking Thanksgiving photos is being able to share them with loved ones near and far—so make sure you send copies (or links) to grandparents, cousins, and other family members who would enjoy seeing them.

9. Be patient.


Kids can be unpredictable, so it’s important to be patient when taking photos of them. If you wait for the perfect moment, you’re sure to capture some truly special memories that you and your family will cherish for years to come.

10. Have fun!

Photography should be enjoyable—so make sure you take some time during Thanksgiving break to experiment with different techniques and styles until you find something that works for you and makes you happy!

We hope these tips have inspired you to get out there and take some great Thanksgiving photos of your kids! Remember, the most important thing is to have fun—after all, that’s what Thanksgiving is all about!

www.pizap.com

How to Make Studying More Fun with Pizap’s Background Eraser

If you’re like most students, you probably find studying to be a drag. But what if there was a way to make it more fun? Enter Pizap’s Background Eraser. With this handy tool, you can easily remove the background from any image and add in a new one that’s more conducive to studying. Here’s how:

1. Choose your image.

Original photo with background.

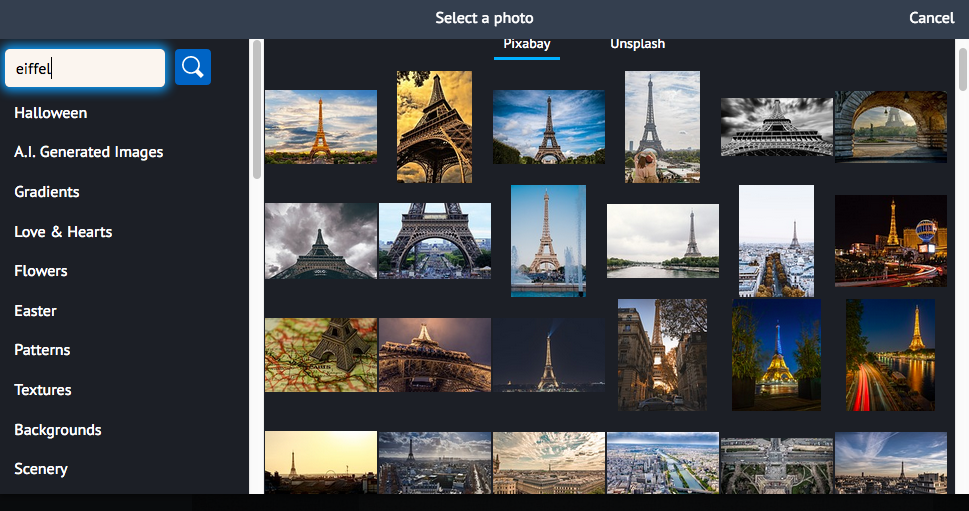
The first step is to find an image that you want to use as your new background. You can either upload one from your computer or choose from Pizap‘s library of stock photos from Pixabay and Unsplash platforms. The piZap photo editor app is available on the web, iOS and Android devices.

2. Remove the background.

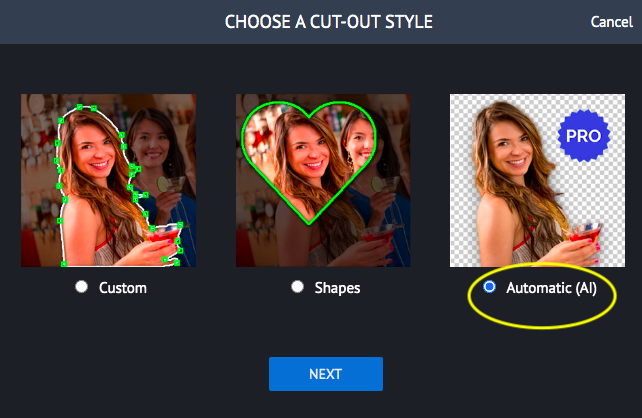
Once you have your image, it’s time to remove the background. Pizap makes it easy to do this with just a few clicks. Simply select the “background eraser” tool and then click on Automatic (AI- artificial intelligence) to automatically remove the background.

Pizap will automatically remove the selected areas and create a transparent background.

Background removed by piZap’s Background Eraser tool.

3. Add a new background.

Stock photos from PIXABAY / UNSPLASH

Now that you have a transparent background, you can add in any new background that you want. This is where you can really get creative and have some fun with it.

Background applied : Eiffel tower

For example, if you’re studying for a history exam, you could add in an image of the Eiffel Tower or the Pyramids of Giza. Or if you’re studying for a biology exam, you could add in an image of the Amazon rainforest or the Great Barrier Reef. The possibilities are endless!

4. Save and share your new creation.

Background applied: Egypt’s pyramid

Once you’re happy with your new creation, simply save it and share it with your friends to show them how much fun studying can be!

www.piZap.com

There’s no need to suffer through studying alone! With Pizap’s Background Eraser, you can have some fun while you study and make the experience a little more bearable. With just a few clicks, you can easily remove the background from any image and add in a new one that’s more conducive to studying—or anything else! So next time you’re feeling overwhelmed by your material, take a break and play around with PiZap. Your brain will thank you for it. 🙂

Make Your Email Signature Work for You: Tips for Designing an Effective Email Signature

Your email signature is your calling card. It’s the first thing people see when they receive an email from you, and it’s a reflection of your personal brand. An effective email signature should be well-designed, professional, and informative. Here are some tips for designing an effective email signature.

  • Keep it simple.
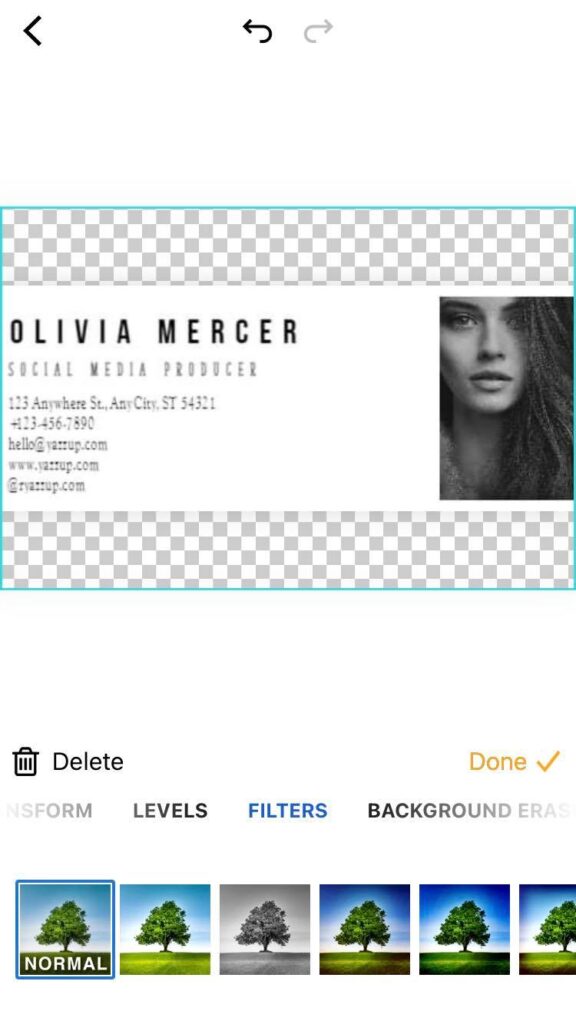
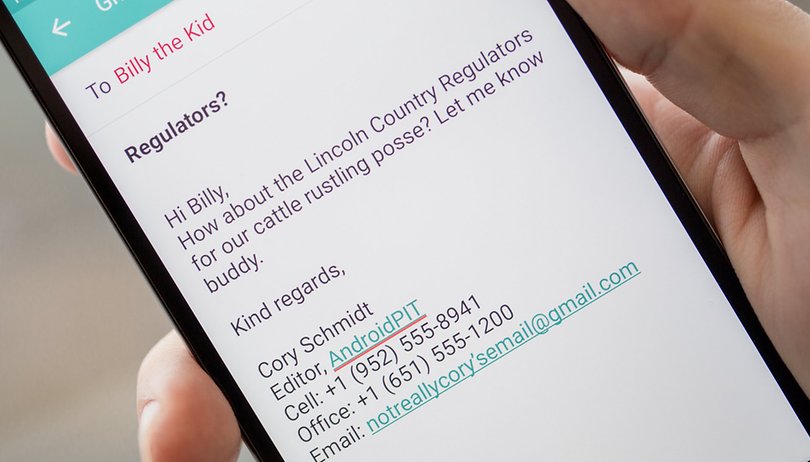
    Your email signature should be clean and uncluttered. Stick to the basics: your name, title, company, website, and contact information. Anything beyond that is unnecessary and can actually detract from your message. piZap photo editor has various design templates that can be perfect for your email signature. The piZap app is available on the piZap web, android and iOS devices.
Blank canvas in the piZap web
piZap app in iOS device
  • Use proper grammar and punctuation.
    Your email signature is a reflection of your professionalism, so make sure to proofread it carefully. Typos and grammatical errors will make you look careless and unprofessional.
  • Use a professional headshot.
    A professional headshot conveys confidence and credibility. It helps people put a face to a name, which can make you seem more approachable and likable.
  • Stick to a consistent format.
    An email signature should be consistent in format from one person to the next within an organization. This creates a sense of unity and professionalism. If everyone’s email signature looks different, it will look chaotic and unorganized. You can match the consistency by using a standard font style that you use. PiZap offers tons of fonts that may fit in your email signature design.
piZap app in iOS device
  • Use branding elements sparingly.
    If you’re representing a company or organization, you may want to include its logo in your email signature. However, don’t go overboard with branding elements—too many logos and colors can be overwhelming and difficult to read. A simple logo or color scheme is all you need to tie your signature to your company’s brand identity.
  • Make sure it works on mobile devices.
    More and more people are reading emails on their phones, so it’s important to make sure your signature looks good on mobile devices as well as desktop computers. Keep it simple so that it renders correctly on smaller screens—avoid using too many images or complex HTML code that might not display properly on a mobile device.
  • Test it before you use it .
    Before you start using your new email signature, test it out on all the different devices and platforms you use to make sure it looks the way you want it to . Send yourself test emails from your phone , tablet , laptop , and desktop computer to make sure everything looks correct .
  • Update it regularly .
    Be sure to update your email signature regularly with any changes in your contact information or job title . If you move companies , get promoted , or change your phone number , be sure to update your signature right away so that people always have the most accurate information .
  • Keep it consistent with the rest of your online presence .
    Your email signature should be consistent with the rest of your online presence , including your website , social media profiles , and other marketing materials . This helps create a cohesive personal brand that people will recognize across all channels .
  • Get creative !
    Email signatures don’t have to be boring—get creative with yours ! Use HTML code to add images , links , or even animated GIFs . PiZap has tons of royalty free images and GIFs that you can use in your email signature design. Just remember to keep it professional — no one wants their inbox filled with flashy signatures that are difficult to read .
  • Seek feedback from others .
    Once you’ve designed your new email signature , ask for feedback from trusted colleagues or friends . They may have suggestions for how you can improve it or make it more effective . You can also run A / B tests by sending two different versions of your signature to different groups of people and seeing which one gets more positive responses .
  • Have fun with it !
    Designing an effective email signature doesn’t have to be tedious — have fun with it ! Think about what makes you unique and find ways to incorporate that into your design . After all , this is YOUR personal brand we’re talking about ! The sky’s the limit with piZap photo editor when it comes to creativity , so let yours shine through in your email signature design !

An effective email signature should be well-designed, professional, informative, consistent, and reflective of your personal brand identity. By following these tips, you can create an email signature that will make a great impression on everyone who receives an email from you!