
 Seems like these days there is a holiday for everything. While we think some are downright silly (we’re looking at you Old Stuff Day!), others we can get behind. One such holiday is International Scrapbooking Day celebrated on March 4th.
Now, we get it that scrapbooking is typically considered a hobby involving the lots of scraps of paper and not necessarily a digital exploration. However, the official definition of scrapbooking is this, “the activity or hobby of making scrapbooks,” and that, to us, includes using digital tools.
Enter piZap! In this post, we’ll cover some fun ideas for preserving your family history, or celebrating a special occasion through scrapbooking and how utilizing our free photo editing website to help make it a breeze.
Four Steps to Using a Free Photo Editing Website for All Your Scrapbooking Needs
Regardless of what mainstream stores lead you to believe about scrapbooks, they are not one-size-fits-all. The standard size is 12 x 12, however you can make it ANY size you wish. We advise that you select a size that will accommodate your theme, your materials, and add-ons.
Homemade scrapbooks are absolutely gorgeous, and easy to make with a hole punch, some cardboard and your printed out pages. Additional ideas could be to embellish notebooks, blank hard cover books or traditional photo albums.
Step One: Choose a Theme
It could be about a holiday, birthday, family trip, crazy hair day at school… anything! Your theme will unify the final product for maximum impact.
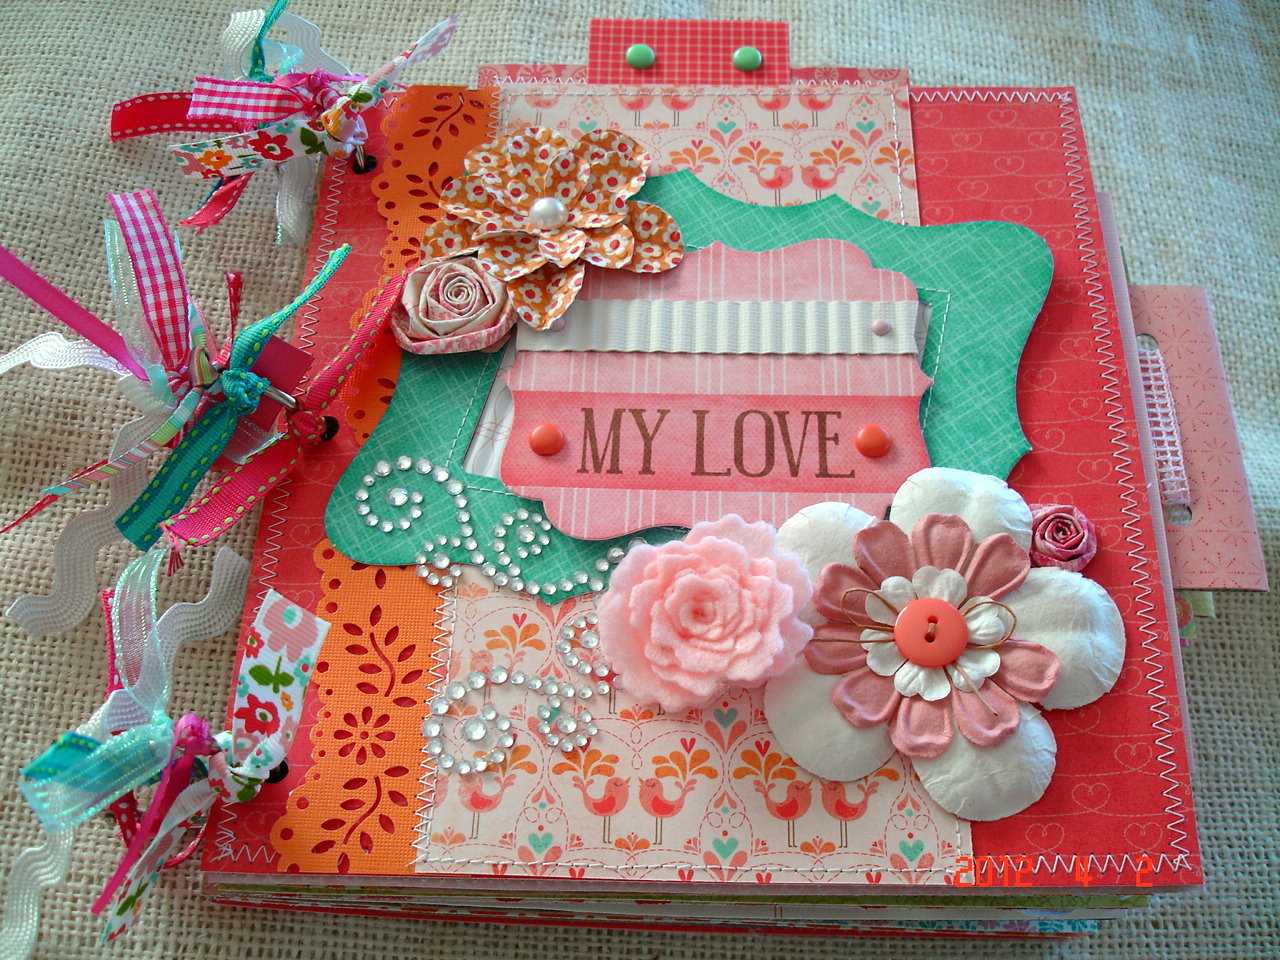
How about the creativity of this embellished scrapbook on the theme of “my love”, bound by colorful ribbons?
Step Two: Determine the Size
As mentioned above, there is no standard size! You can decide upon your size based on what you can print out at home on 8.5″ x 11″ size paper OR you can create your backgrounds and such, and have them printed elsewhere. Do not hold back on your creativity based on size!
Step Three: Create a Storyboard

You’ll find there is a natural flow to your theme and organizing a storyboard will help you to showcase it more easily from beginning to end. If going with a theme, consider all coordinating color combinations.
Step Four: Create!
Now comes the fun part… creating! Using piZap’s free photo editing website, you can build some or all of your pages, then print them out on your home printer and embellish, or have them printed at a local print shop.
Here are some ways in which to use piZap for Scrapbooking.
Collages

Adding your digital photos directly to a layout without dealing with scissors, glue and mess is genius! Make your layouts even more interesting with fun Backgrounds, Borders and Stickers.
Cool Edges

Looking to add your IRL memorabilia to a stylistic page? No problem! We can help you there, too. For example, for a movie page, you can add your elements, print out the page, then tape your movie tickets directly to it. There should be an award for that, right?
Combo Pages

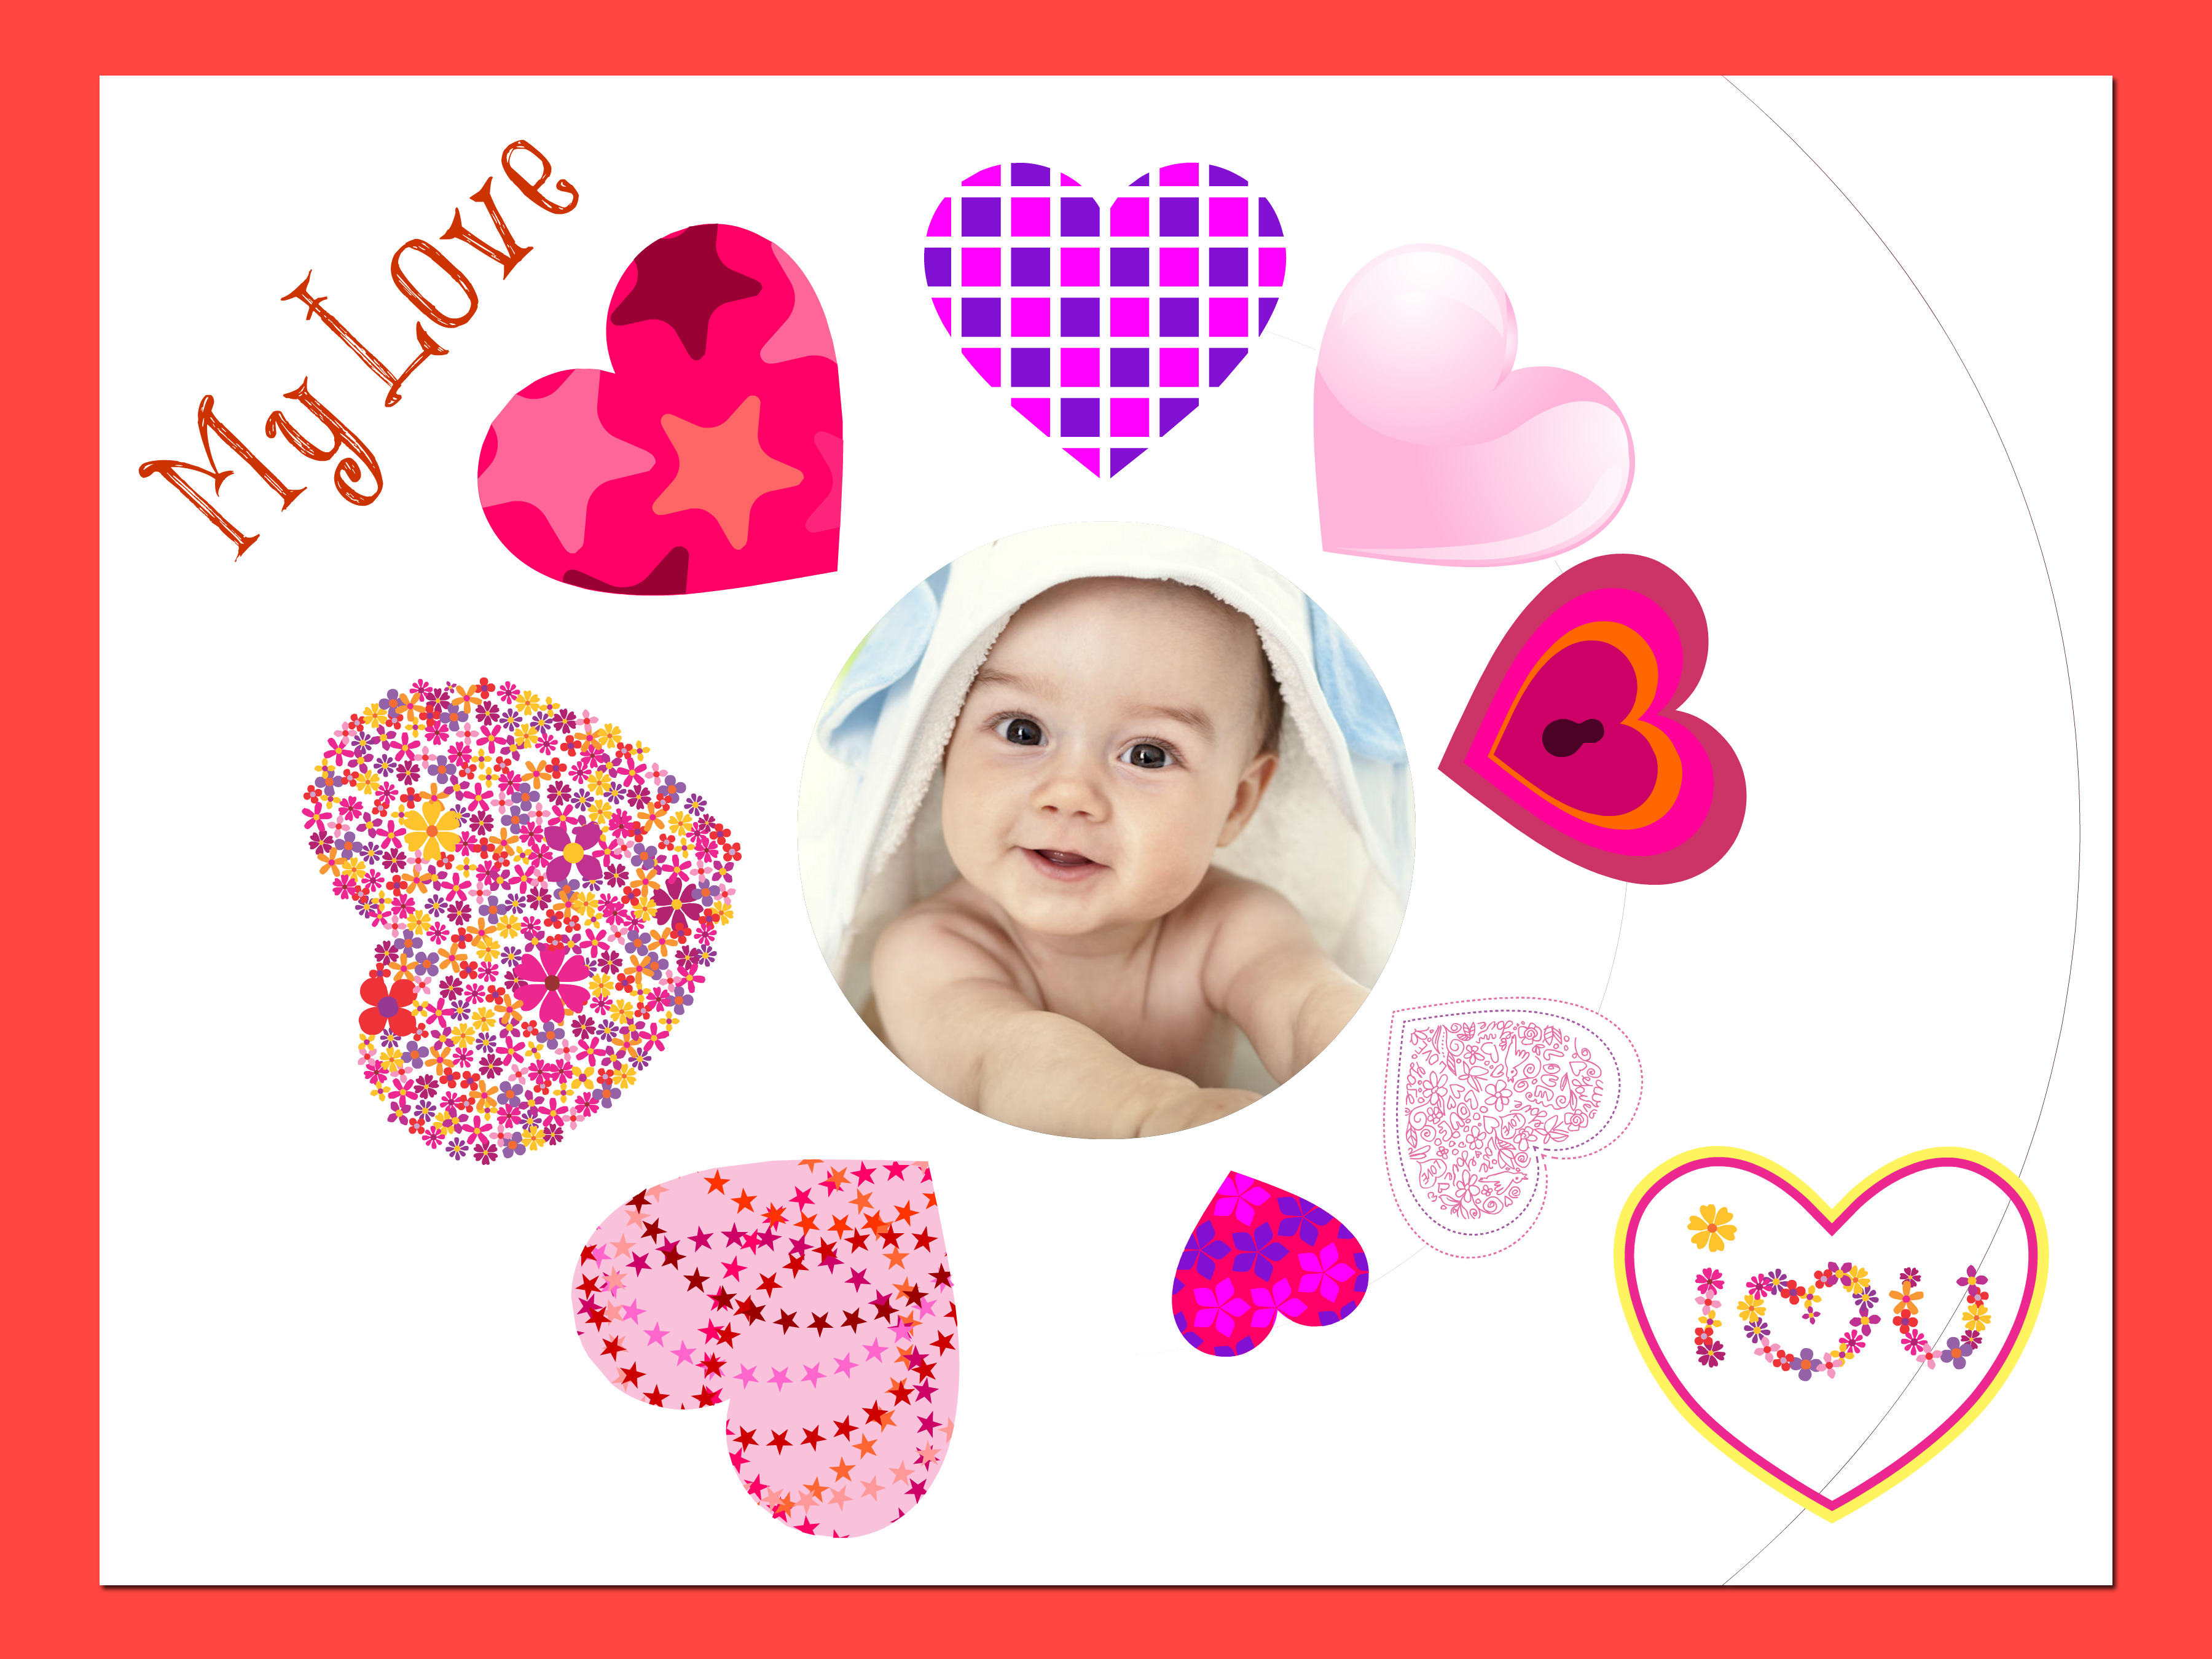
Want to integrate a custom background with your digital images that you plan to add to (maybe a cut out heart for this pic above?). You can do that too! The build tools, literally, give you millions of options.
When you can combine digital tools with real life memorabilia, your scrapbooking skills will be off the charts!
We can’t wait to see what you come up with!