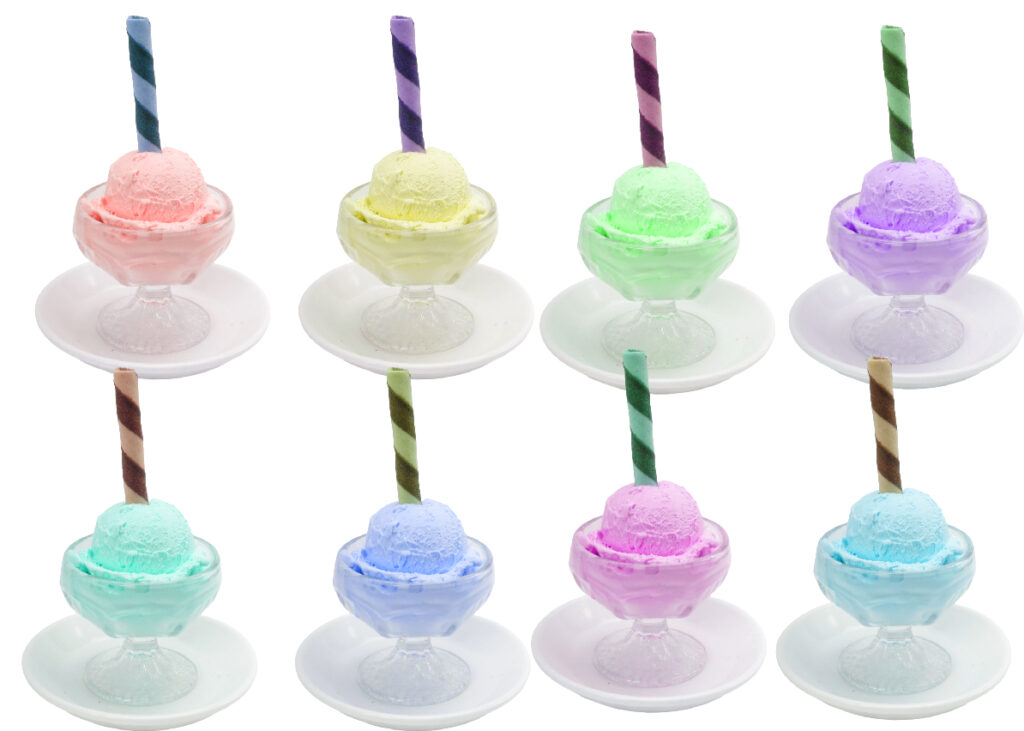
PiZap’s Color Effect is a fantastic tool that allows you to add various colors to your images, resulting in captivating visual effects. If you want to showcase, for example, a delicious ice cream image with different mouthwatering color variations, follow these simple steps to achieve stunning results.
Step 1: Access PiZap Photo Editor App
First, you need to access PiZap’s Photo Editor. You can do this by visiting the PiZap website and clicking on the “Blank Canvas” option. If you have downloaded the app in Android or iOS in your device, you can easily access or sign up to register. Download the piZap app here.
Step 2: Upload Your Ice Cream Image
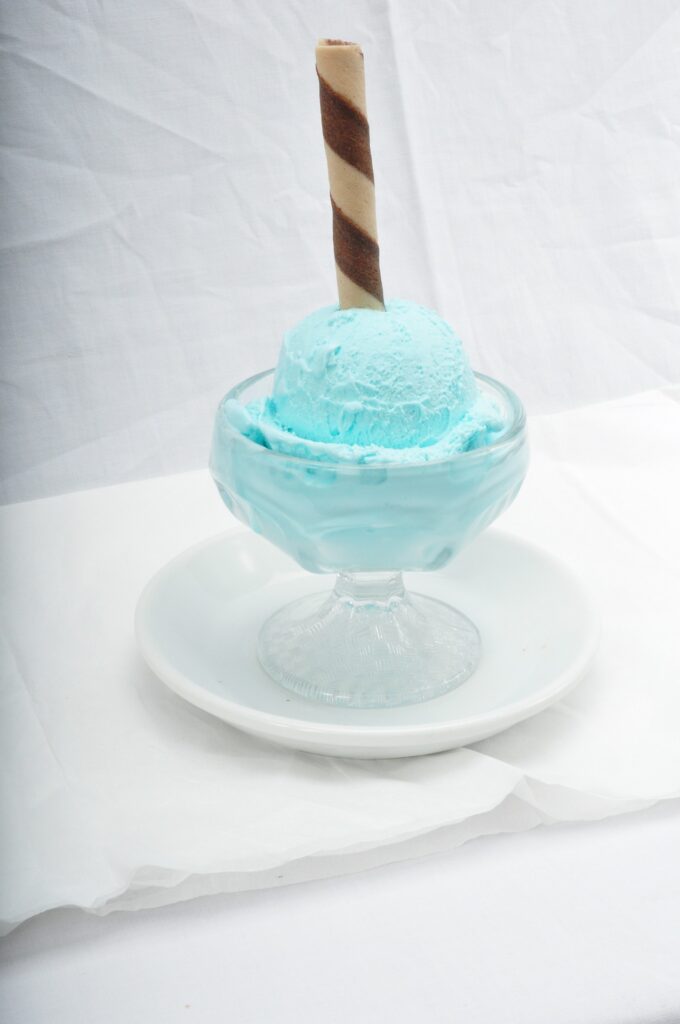
Once you’re in the piZap app, click on the “Background Eraser” button to select and upload your ice cream image. You can select an image from your computer or use one from the tons of awesome stock image library provided by piZap.
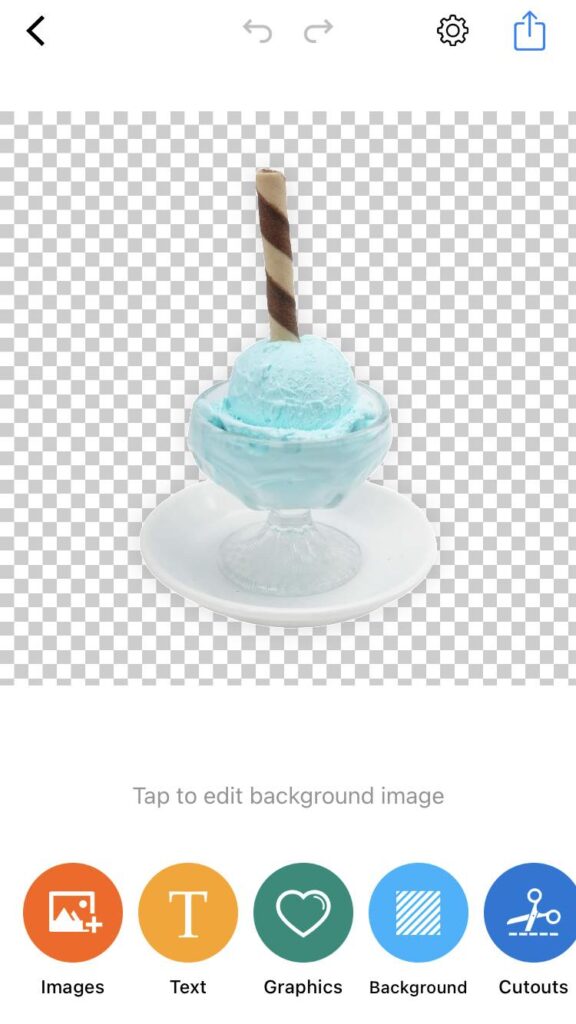
Step 3: Duplicate the Ice Cream Image
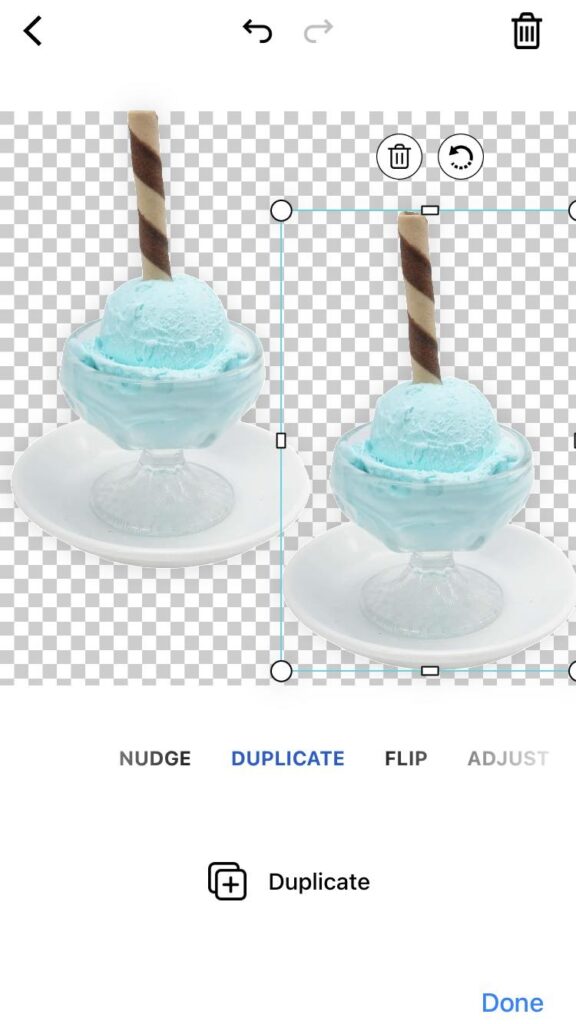
To create the five different color variations, you’ll start by duplicating the original ice cream image. Locate the “Duplicate” panel or option, and look for the “Duplicate” button below. Click on it to create an identical copy of your ice cream image.
Step 4: Apply Color Effect to the Duplicated Image
With the duplicated ice cream image selected, navigate to the “Adjust” toolbar. Look for the “Color” option. Drag the color slider to get the desired color variation of the duplicated image.
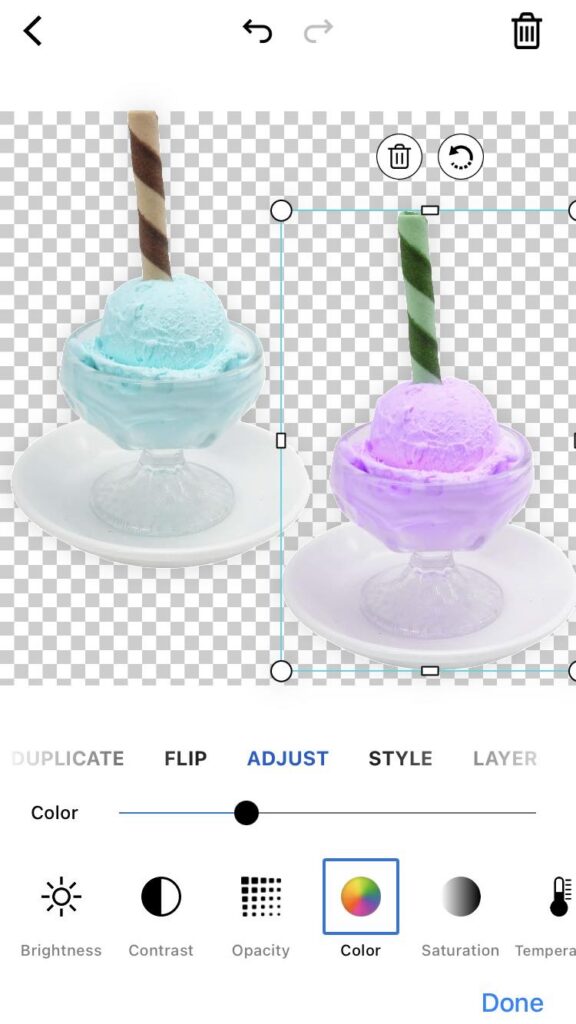
As you do this, you’ll notice the image showing a different color appearance and allowing the original ice cream image to show through. Note: If you are using the piZap web, you can find this color feature when you click the image that you will edit.

Step 5: Repeat for Five Color Variations
Now, repeat steps 3 and 4 four more times, creating a total of five duplicated ice cream images, each with a different level of opacity. Adjust the opacity for each duplicated image to achieve five unique color variations of the ice cream.
Step 6: Arrange the Ice Cream Variations
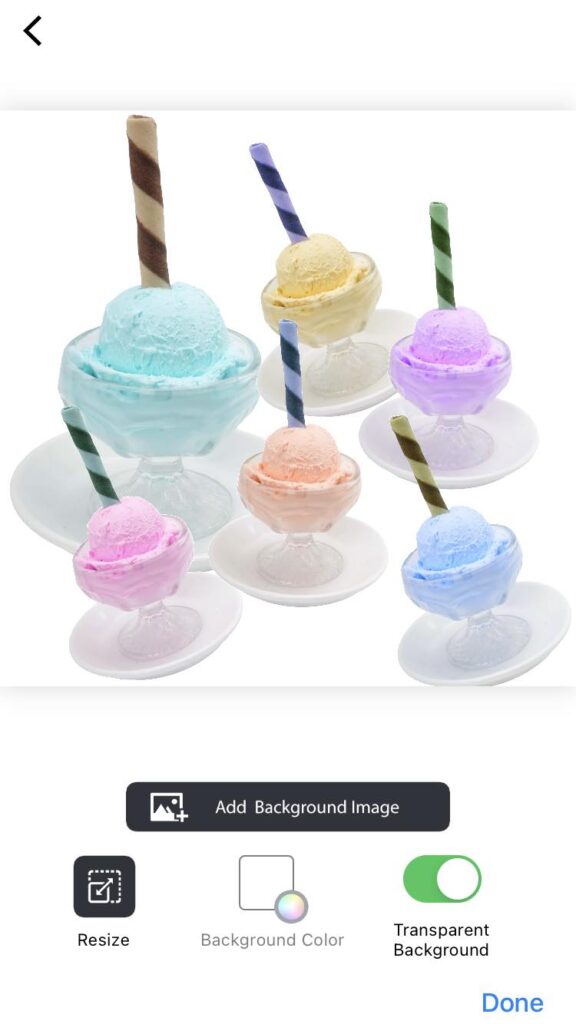
After creating the five different color variations, arrange them in a visually appealing way. You can stack them on top of each other or place them side by side to create a beautiful collage effect. Experiment with different layouts until you’re satisfied with the arrangement. Then add a final background to complement with your images.
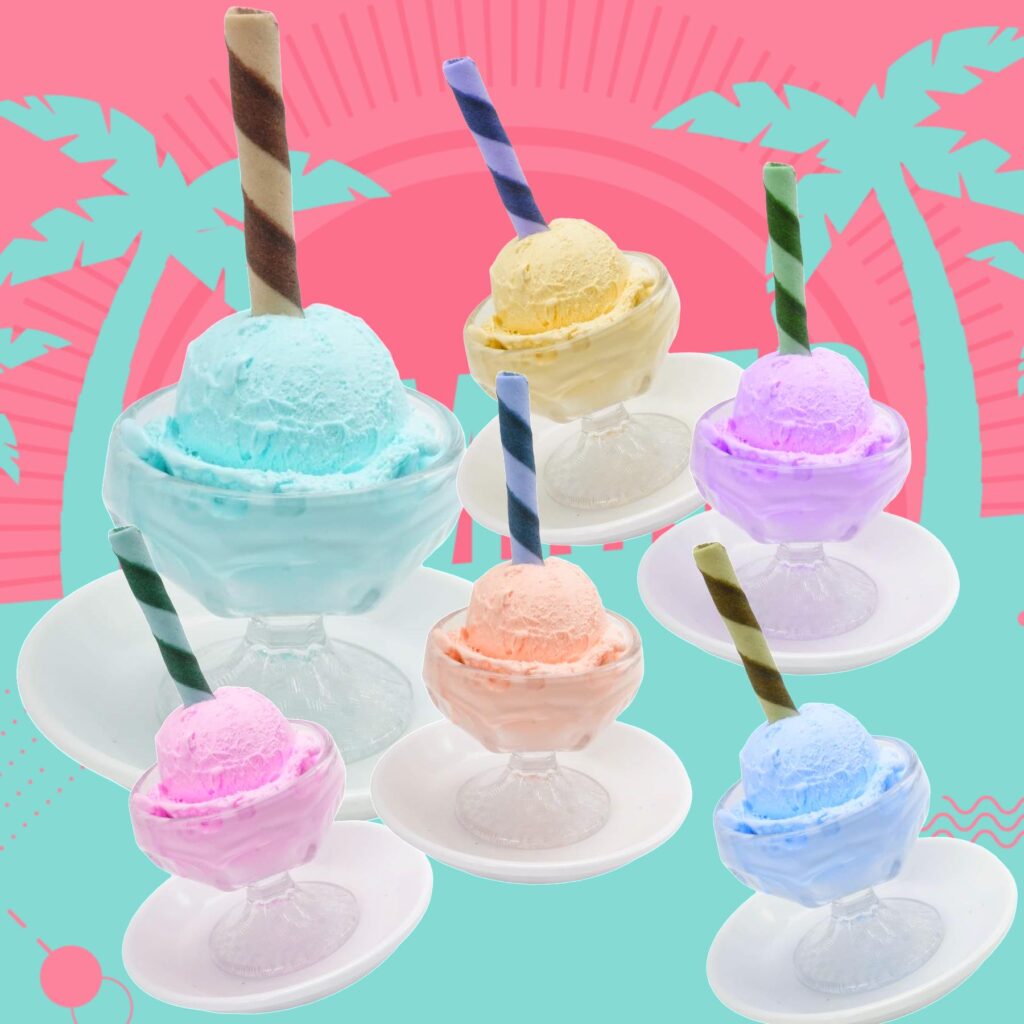
Step 7: Save and Share Your Creation
Once you’ve arranged the ice cream variations to your liking, it’s time to save your masterpiece! Click on the “Save” or “Share” button in the editor to save the final image to your computer or device. Now, you can share your delectable ice cream color variations on social media, your website, or wherever you desire.
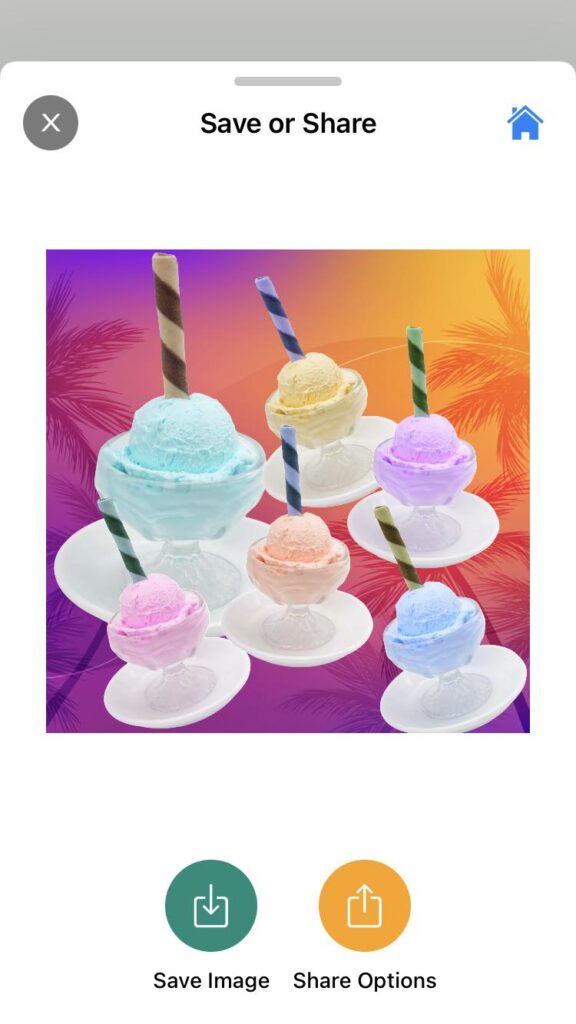
Once you’re satisfied with the color effect and the colorful display of your ice cream image, it’s time to save your work. Click on the “Save” button and choose the appropriate file format (JPEG or PNG) and quality. After saving, you can share your masterpiece on social media, use it for blog posts, or incorporate it into your marketing materials.
Tips for Better Results:
- Experiment with different color settings to find the perfect balance of colors that best represent your image layers.
- Consider using a complementary color palette to make the image even more visually appealing.
- Combine the color effect with other piZap features like AI backgrounds, filters, stickers, or text to add a personalized touch to your image creation.
PiZap’s Color Effect feature is a powerful tool to unleash your creativity and transform ordinary images into delightful and eye-catching objects. So, start exploring the potential of this fantastic feature and let your images stand out from the crowd!
